Keeping your bike’s gears in perfect condition is essential not only to improve performance, but also to ensure safety and extend the lifespan of the drivetrain. A well-adjusted gear system allows for smooth transitions between cogs and chainrings, optimizing pedaling and preventing premature wear.
In this article, we’ll explain step by step how to inspect and adjust your bike’s gears so you can ride with full confidence, whether you train on the road or on the trails.
Why is it important to check your bike’s gears?
The gears are one of the most sensitive components of your bike. They are exposed to mud, rain, dust, and impacts. Without regular maintenance, issues like misalignment, strange noises, chain skips, or even breakages are common. A poorly adjusted gear can cause you to lose a gear on a climb or make the chain fall off, potentially causing a crash.
That’s why it’s recommended to check your bike’s gears every few weeks if you ride regularly, or before any long or demanding ride.

What tools do you need?
Before you begin, make sure you have:
- A bike repair stand (optional but very useful).
- A Phillips screwdriver.
- An Allen key (usually 5 mm).
- Specific lubricant for cables and chain.
- A clean cloth.
Step by step: how to inspect and adjust your bike’s gears
1. Visual inspection
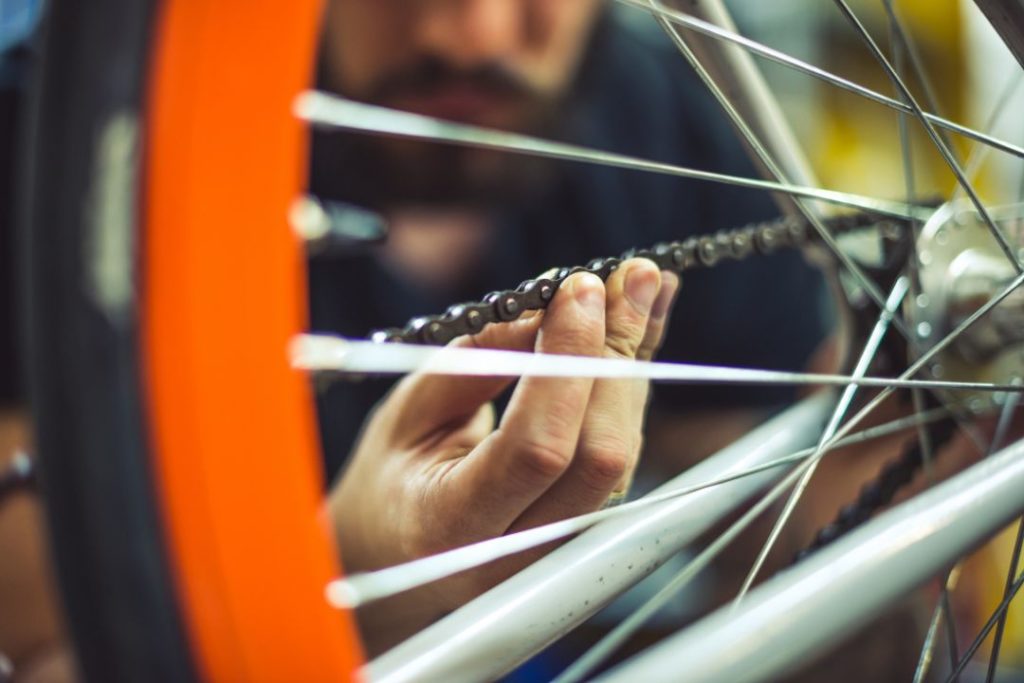
Place the bike on the stand or carefully flip it upside down. Pedal and watch how the chain moves when shifting. Look out for skips, delays when changing, or metallic noises.
Also check the condition of the cables. If they’re rusty, frayed, or unevenly tensioned, they should be replaced.
2. Rear derailleur check
The rear derailleur does the most work and is usually the first to fall out of adjustment. Make sure the derailleur hanger (the part connecting it to the frame) is straight. If it’s bent, you’ll need a specific tool to realign it.
Next, check the limit screws (marked H and L). These control how far the derailleur can move to prevent the chain from going past the largest or smallest cog.
- The H screw limits movement toward the smallest cog.
- The L screw limits movement toward the largest cog.
Shift manually and adjust the screws until the derailleur aligns perfectly with the corresponding cog.
3. Cable tension
Once the limit screws are set, adjust the cable tension. Use the barrel adjuster (usually on the shifter or derailleur). If the chain doesn’t move easily to larger cogs, tension is too low; if it won’t shift to smaller cogs, it’s too high. Turn the barrel counterclockwise to increase tension, clockwise to reduce it.
4. Front derailleur adjustment (if applicable)
Repeat a similar process for the front derailleur. Ensure the chain doesn’t rub on the guide in any chainring/cog combination. Adjust the limit screws (also marked H and L) and cable tension if needed.
5. Lubrication and final cleaning
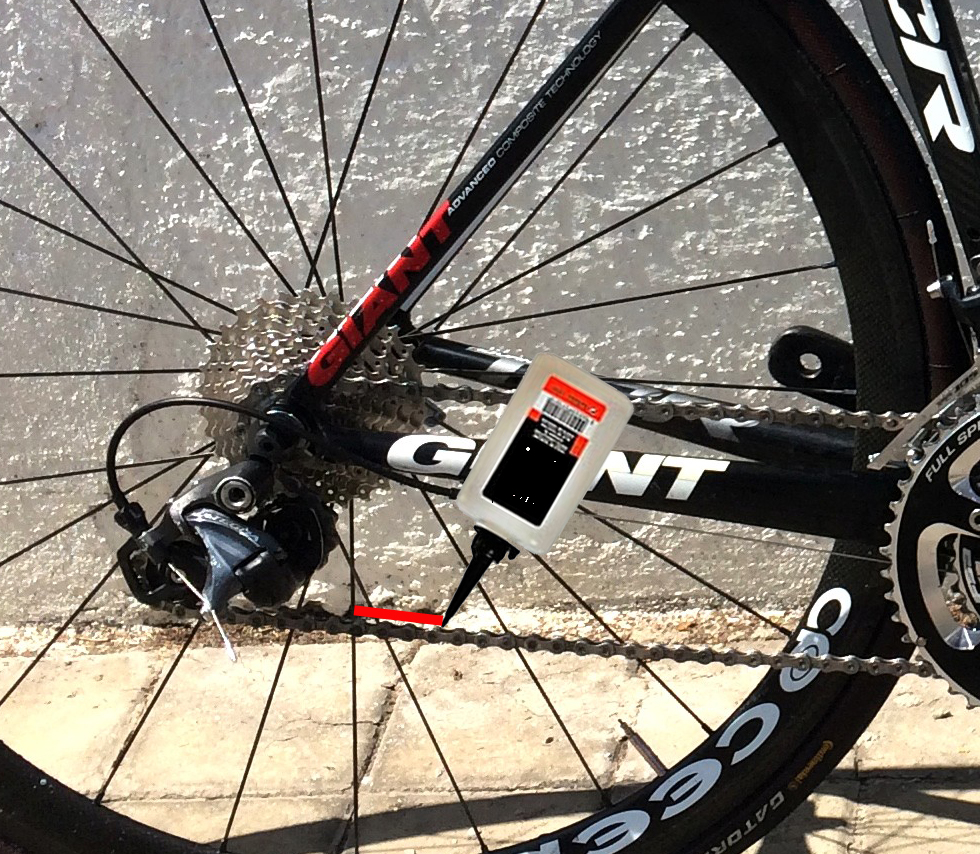
Before finishing, clean the chain with a dry cloth and apply specific lubricant. This will improve shifting performance and help prevent premature wear on the components.

Don’t forget to…
- Avoid cross-chaining (big chainring with big cog, or small chainring with small cog), as it causes unnecessary tension.
- If you can’t get the system to work properly after adjusting, visit a bike shop. A bent hanger or worn chain might need replacement.
- Learn to listen to your bike: a click or a skip can be an early warning before a bigger issue arises.
Conclusion
Knowing how to inspect and adjust your bike’s gears gives you freedom and confidence as a cyclist. Although it may seem tricky at first, with practice and patience, you’ll develop the habit of keeping your drivetrain in top condition. Remember: a well-tuned bike is faster, safer, and lasts longer.
 Go to BKOOL


