 Go to BKOOL
Are you passionate about challenges? The time trial is one of the most demanding and purest disciplines in cycling. Often called “the race of truth,” it tests a cyclist’s ability to sustain maximum effort without external references or the option to hide in a peloton. Here, every pedal stroke counts and everything depends on you: your pace, your strategy, and your specific preparation.
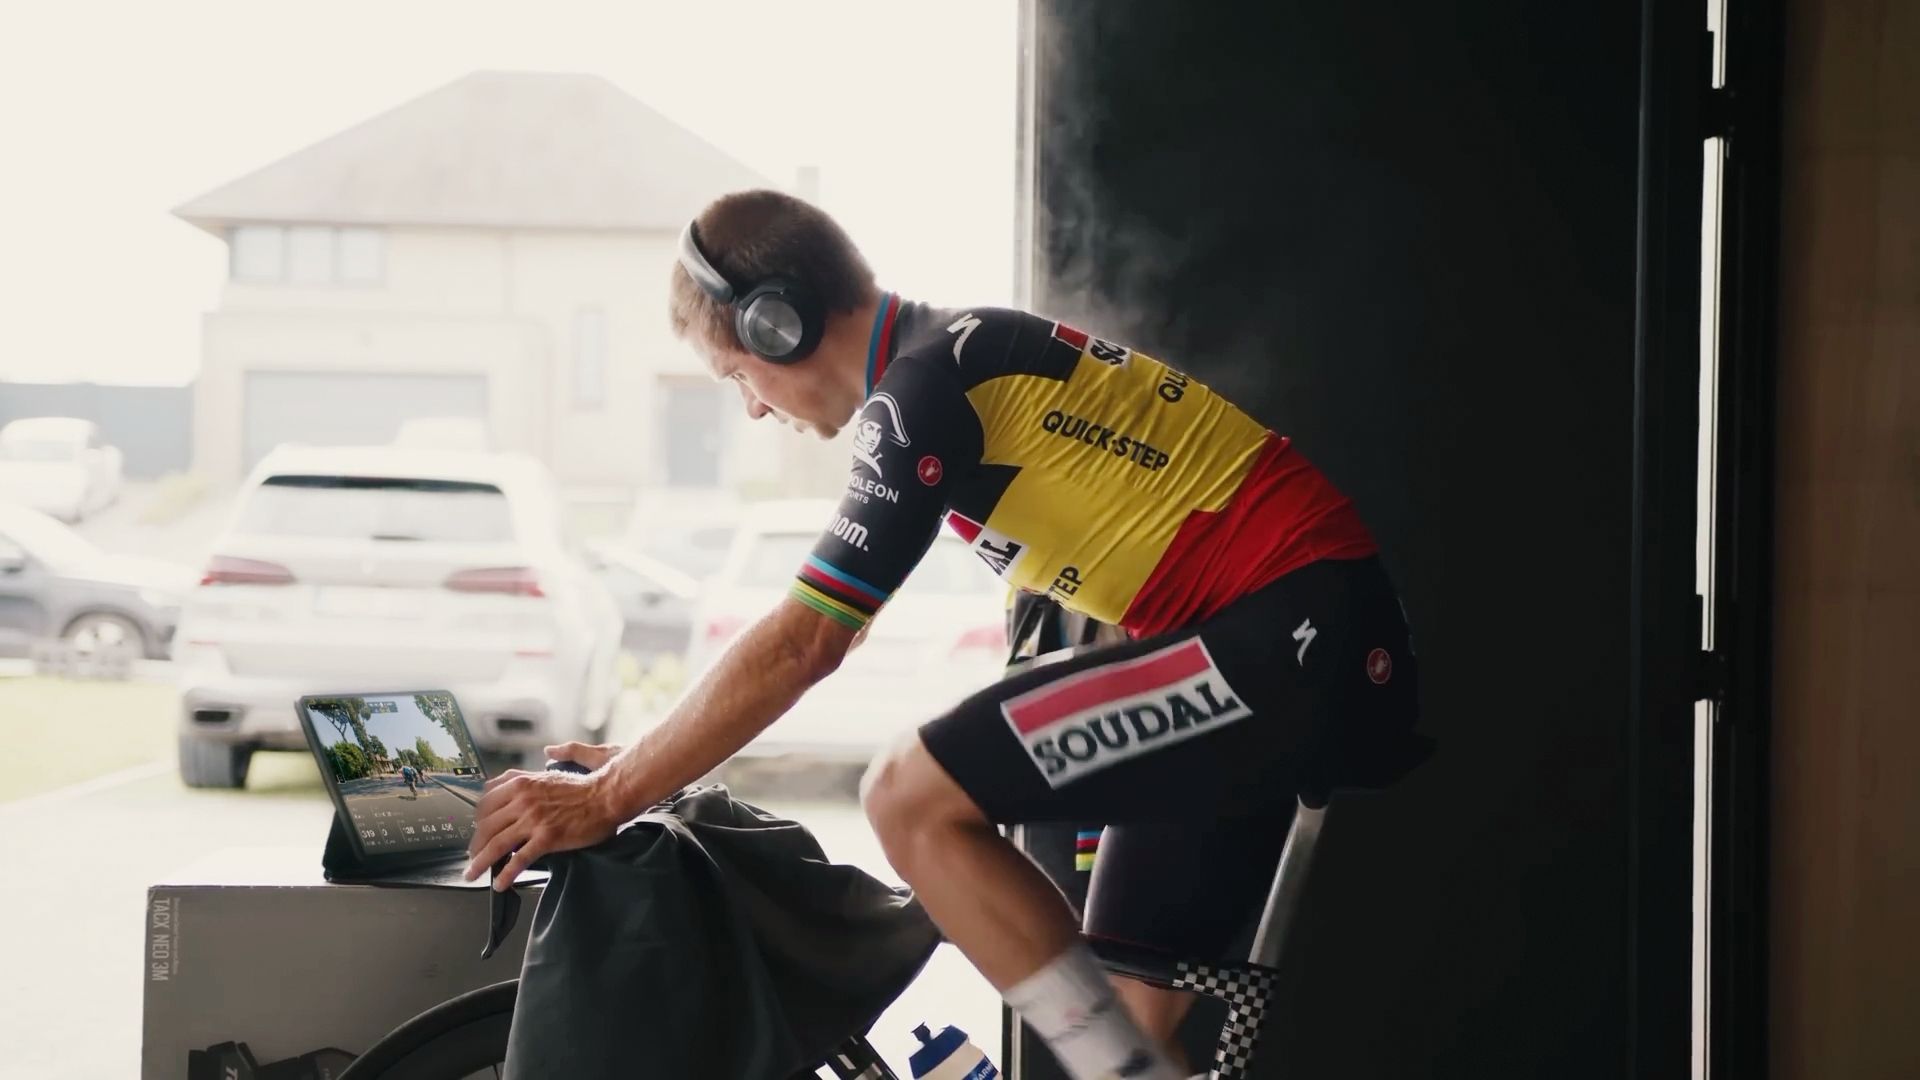
If you dream of improving your performance in the toughest races, learning how to prepare for a time trial using your smart trainer is a crucial step. Thanks to platforms like BKOOL, you can simulate real courses and precisely work on the key aspects of this type of effort without leaving home.
In this article, we’ll show you how to build your indoor time trial training plan to make the most of your BKOOL simulator—no matter your level.
Why train time trials on a smart trainer?
The time trial is a tough discipline: there’s no wheel to follow and no excuses. It all comes down to you—your rhythm, your focus, and your specific preparation. That’s where the smart trainer becomes a key tool.
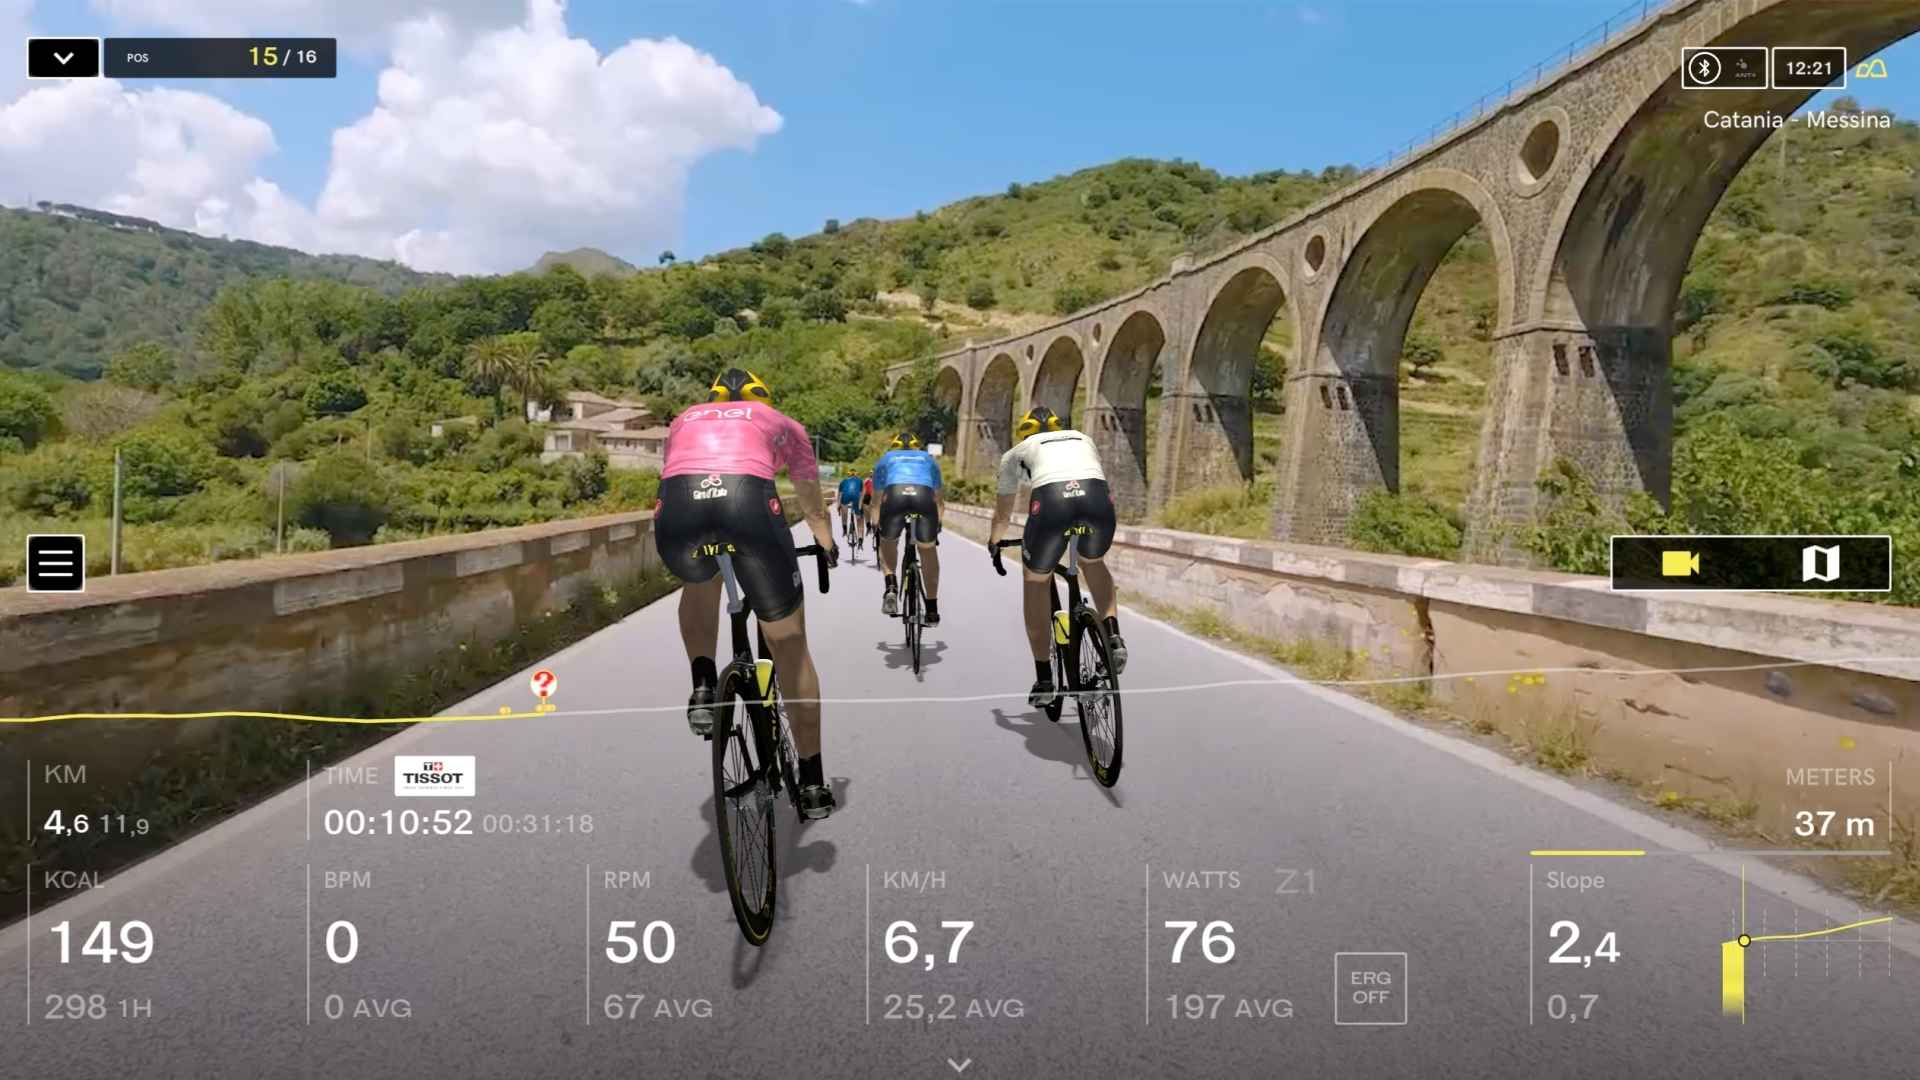
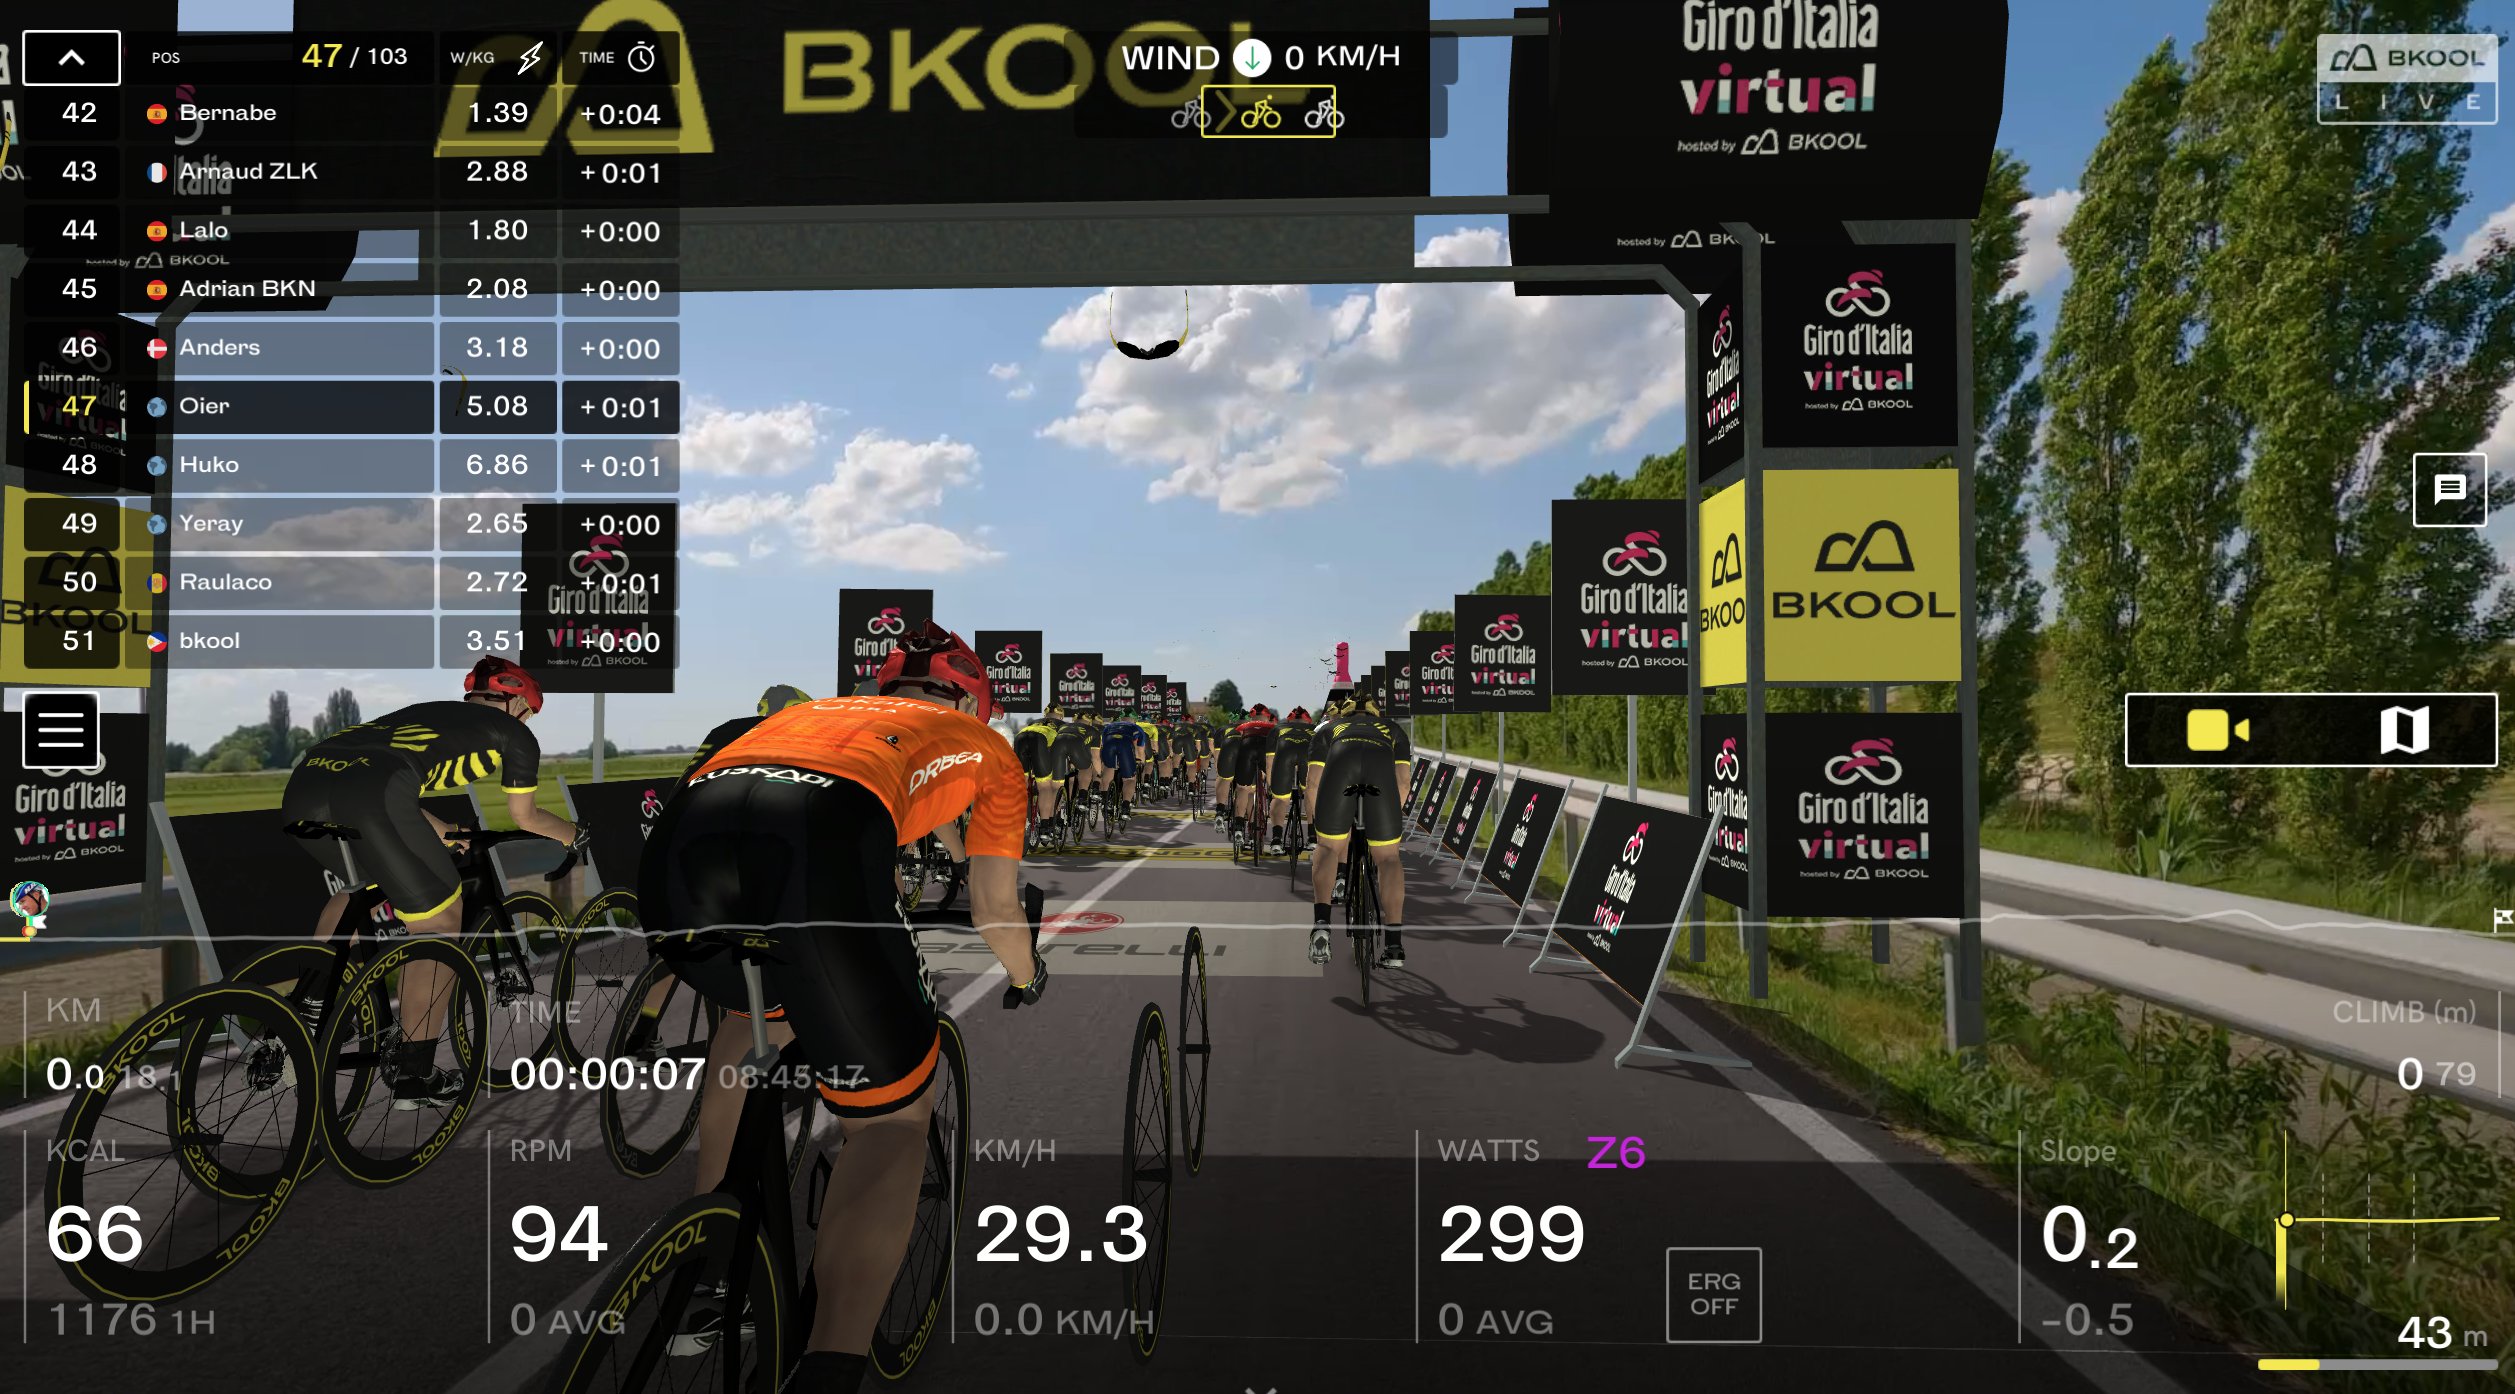
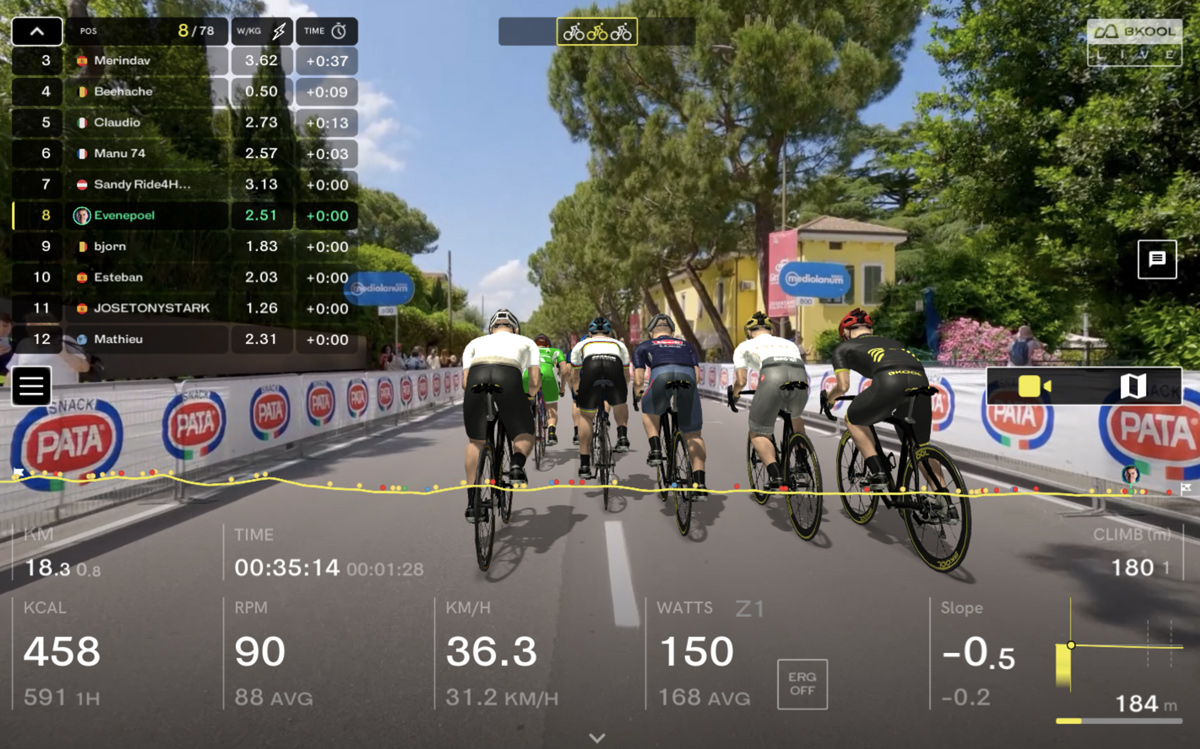
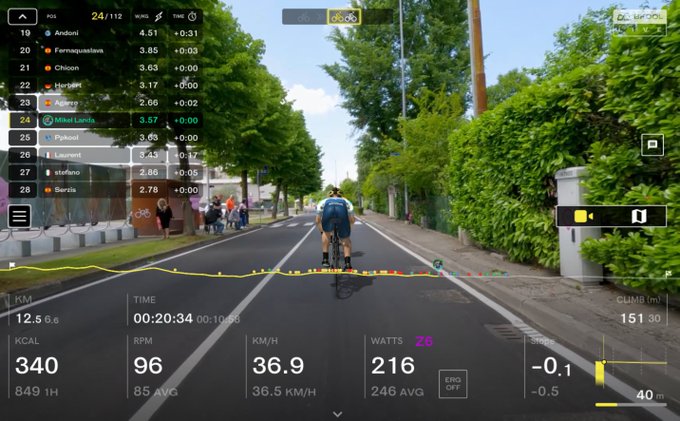
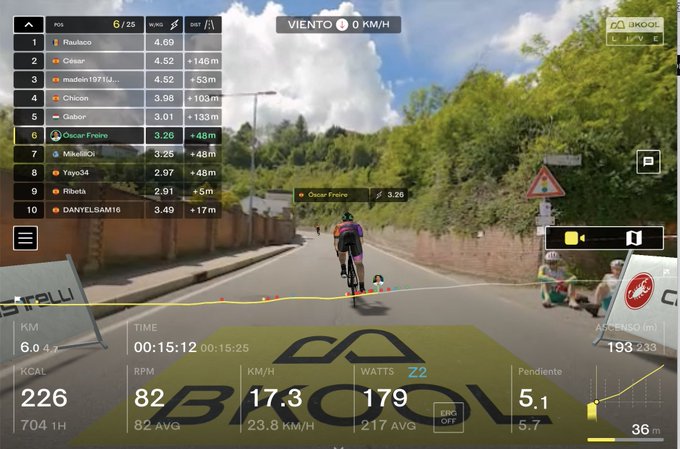
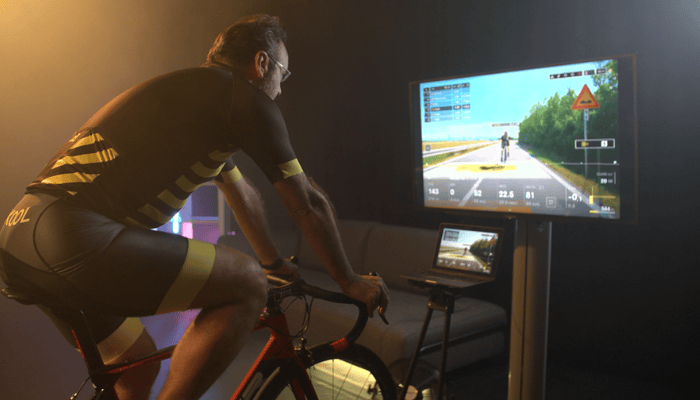
Using the BKOOL simulator allows you to recreate real road conditions, with authentic routes, elevation changes, and real-time data. Plus, training indoors eliminates external distractions like traffic or weather, letting you focus 100% on your metrics.
Key tips to prepare a time trial using BKOOL
1. Define your goal and plan your progression
The first step is to define your goal. Do you want to improve your time over a specific distance? Are you preparing for a stage of our Tour de las Américas 2025 by AMIX? Set a clear and realistic target. The more defined your goal, the easier it will be to structure your training plan on BKOOL.
For example, if your challenge is a flat, explosive stage, you’ll want to focus on building power and holding an aerodynamic position during short, intense efforts. On the other hand, if your time trial includes elevation, you’ll need to train your ability to sustain watts on climbs and optimize your pacing strategy.
Once that’s clear, build a time trial smart trainer plan that includes:
- Threshold sessions: to increase your sustained power.
- Short high-intensity intervals (HIIT): to boost recovery capacity.
- Long efforts at steady pace: simulating the intensity of a real time trial.
2. Monitor your data: power, cadence, and heart rate
BKOOL lets you track the key data for your progress. Make sure you train with a properly calibrated power meter or speed and cadence sensor. Tracking your FTP (Functional Threshold Power) is essential to fine-tune the intensity of every session.
3. Work on your aerodynamics… even at home
Even indoors, your position matters. Use your smart trainer sessions to find a comfortable and efficient aerodynamic posture. Practice holding it during long efforts to avoid losing valuable seconds in competition.
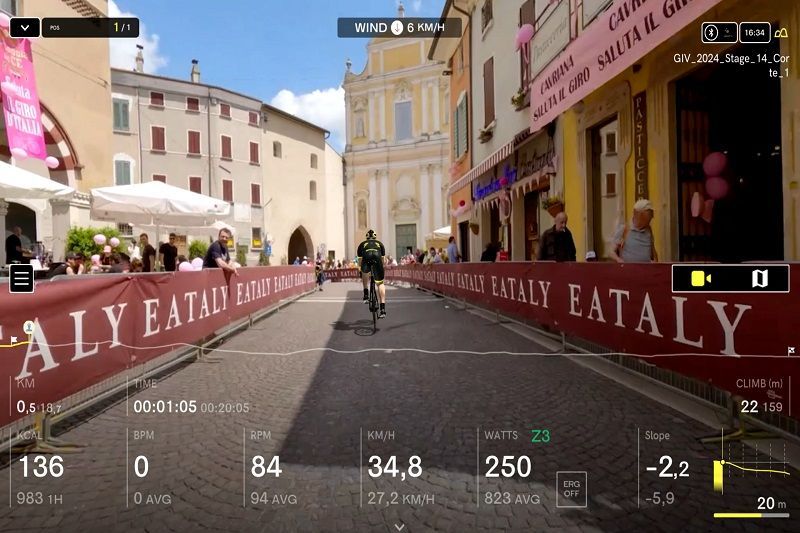
4. Ride real time trial stages on BKOOL
One of BKOOL’s biggest advantages is the ability to train on real routes. Search for time trial stages on the platform, like this one in Milan, and ride them weekly to track your improvement. This helps you get familiar with the layout, gradients, and technical sections.
Extra tips for your time trial training on a smart trainer
- Don’t skip warm-up and cool-down. They’re just as important as the main set.
- Stay hydrated: you sweat more indoors—use a fan and keep water nearby.
- Listen to your body: if you’re overly fatigued, adjust your effort. Recovery is also progress.
Your smart trainer is your best ally

Thanks to BKOOL, you have a professional-grade tool at home to improve your performance in time trial events. Realistic, controlled, and progressive training is now within reach of any cycling enthusiast.
Riding a time trial is both a mental and physical challenge where consistency, aerodynamics, and pacing make the difference between a decent time and a memorable performance. Follow these tips and you’ll see your times drop, your confidence grow, and your enjoyment of this demanding format increase. The time trial is waiting for you!
BKOOL is the most complete cycling simulator on the market, try it FREE for 7 days!