 Go to BKOOL
The indoor cycling season is here and in BKOOL we want you to start it in style. That’s why we have released a new version of BKOOL Cycling full of new features, do you want to know them?
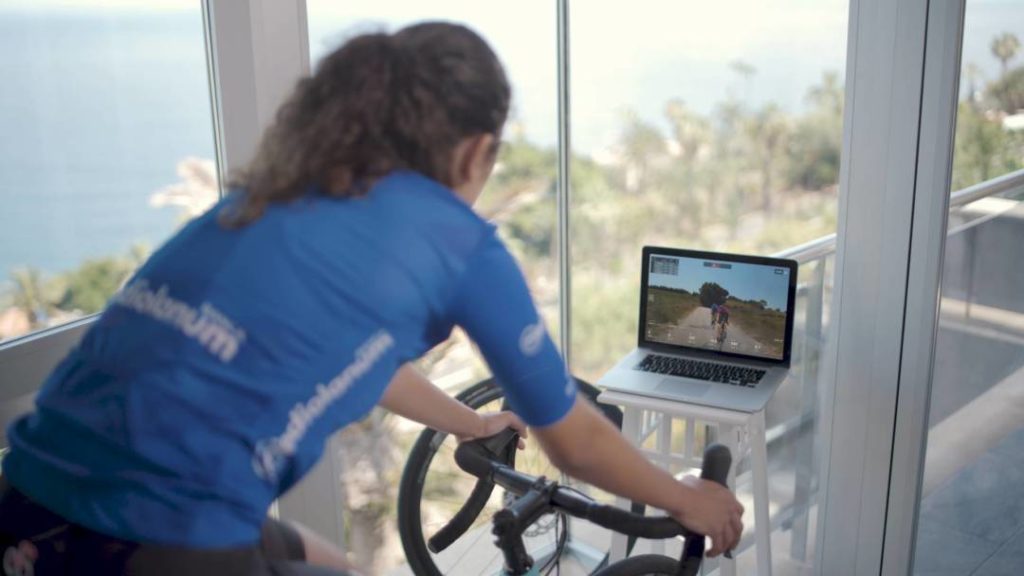
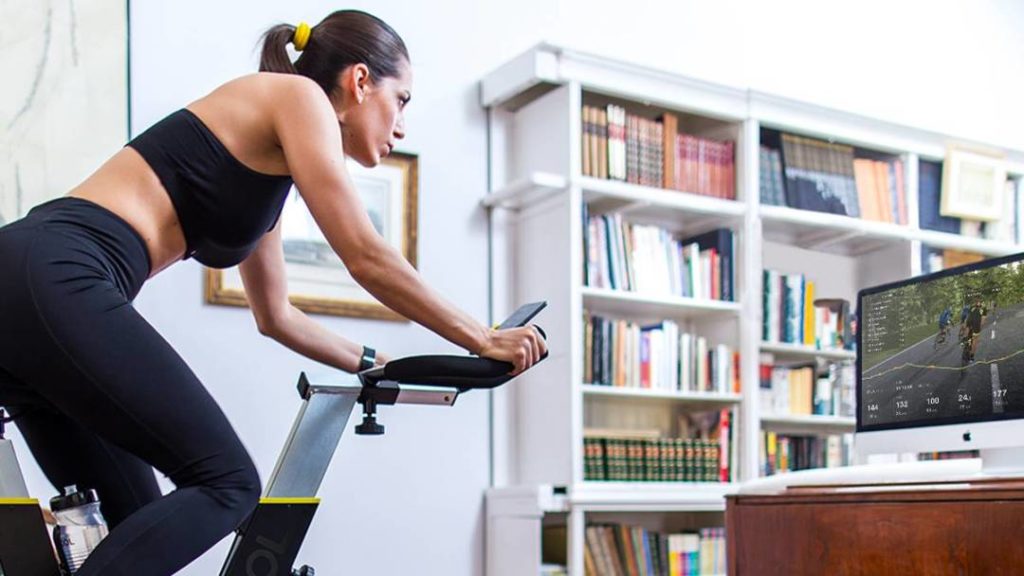
Routes with 3D over video (Video3D):
From now on you will be able to enjoy, without limits, routes with 3D content over real video. A fusion of HD images with virtual elements which improve the level of immersion in the simulator, creating a more realistic experience.
We will gradually increase the catalogue with this type of route, including the stages of the last edition of the Giro d’Italia Virtual hosted by BKOOL.
Bots:
The names of Carmiña Faldeiro, Bean Diesel or Victor Montes might sound familiar to you. They are the names of some of our beloved Bots, which have been with us for over ‘10 seasons’ at BKOOL. We believe that they need a well-earned rest, to be able to return with much more experience and continue helping you in the tough moments or push you through every kilometre. For a time, you will not be able to see them on the routes in BKOOL, although you will still continue to see them on the website, so you don’t forget about them. Rather than a goodbye, it is more of a ‘see you later’, because they will soon be back with an improved version to continue being part of your virtual cycling group.
New economy and currency: Welcome to Bkoin!:
From now on all your BKOOL points will convert automatically into a new currency to spend in our virtual store. The Bkoin is a currency with a higher value in the new BKOOL economy, which will allow you to get kitted out as you deserve in the simulator.
Whenever you start a route, velodrome, or workout, you will receive a reward in Bkoins, even if you can’t finish it. Each pedal counts! No matter how long it takes you to complete the route. As we believe that the most important thing is effort and consistency to keep improving and Bkoins are the best way to reward you for that. Push yourself, grow and earn with BKOOL!
By the way, not long is left for the boxes in our store to start opening, so you can buy virtual bikes and new accessories to fully personalise your avatar. The countdown starts!
Virtual Stores:
Buy whatever you like! There is now no limit on space, you will be able to store all of the jerseys and items which are about to arrive in the new virtual store.
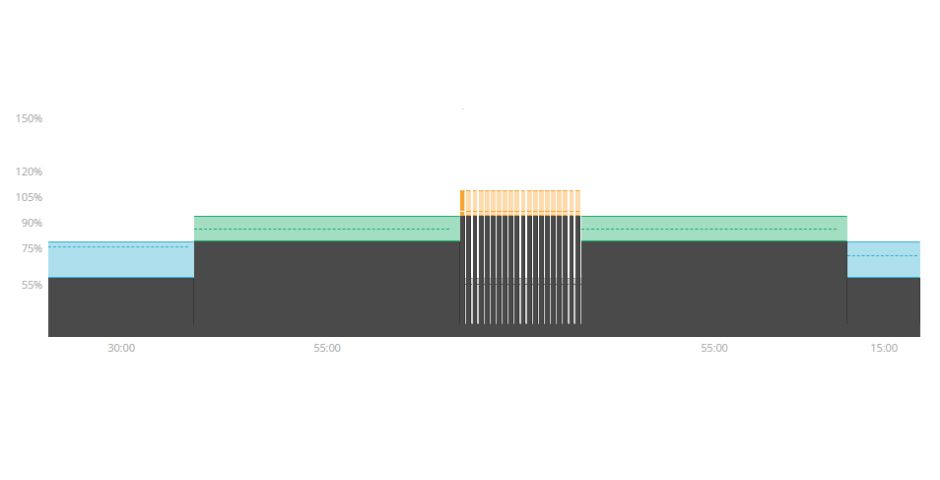
Improvements and bug fixes:
- Optimisation of connectivity and searching for your devices.
- New devices supported. Visit BKOOL, the most realistic Indoor Cycling Simulator to discover them.
- Improve performance of our multiplayer server.
- Improvements to how our virtual store works.
- Adapting our simulator and infrastructure, in preparation for all the new features which are about to arrive. There are months of surprises at BKOOL around the corner!
- Corrections to Workouts synchronised with your Training Peaks account.
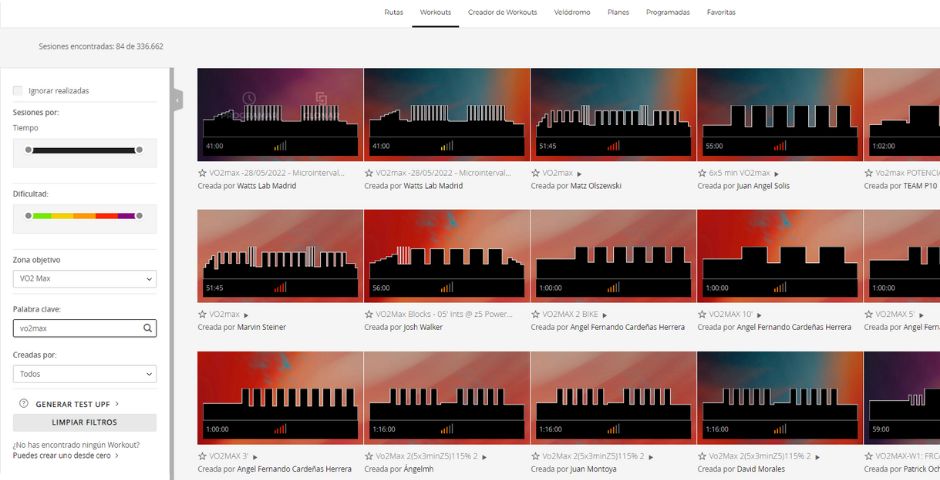
- Error corrections in spectator mode, FTP tests, filters in route search tool, and German texts.