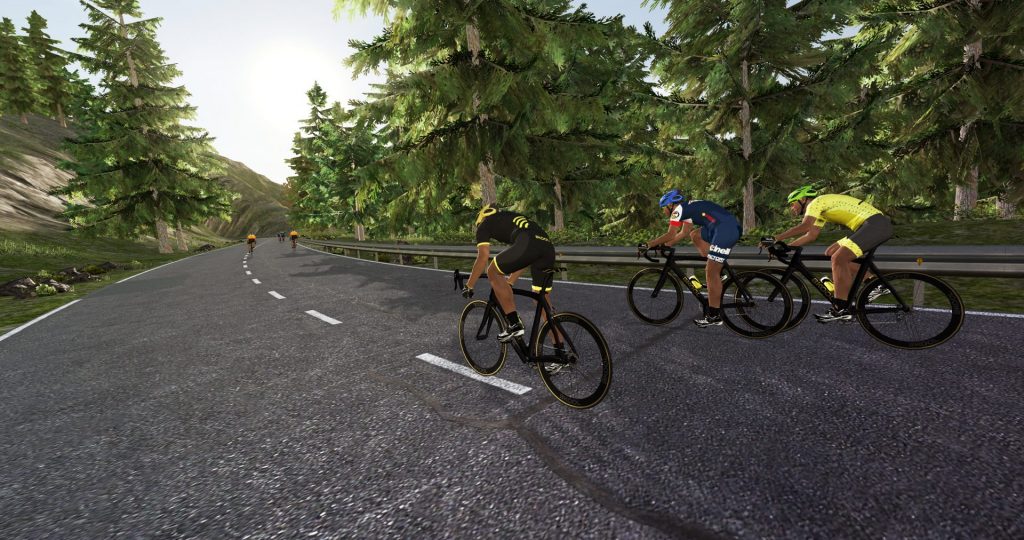
Did you know that BKOOL is the only platform where you can upload your cycling route on video to be part of the simulator? From that tough climb that left you breathless to that peaceful coastal ride that filled you with energy, you can upload any cycling route, so that you can relive every single kilometre of it whenever you want. Share that special cycling route, train on it whenever you want and share it with a community of Bkoolers from more than 100 different countries. Would you like to know how to do it?
Recommendations for recording your cycling routes on video
Before you start filming, familiarise yourself with the camera you will be using. Once you are ready, plan your route to avoid unnecessary stops during filming. Stopping while recording means that you will have to edit the video later to remove those moments. To make your job easier, make sure you avoid pauses along the route.
An important detail is to check that your GPS is working properly before you start recording. If you are using a GPS device separate from the camera, make sure to turn both devices on and off simultaneously so that the route is recorded accurately.
Don’t worry about any noise that may be picked up during recording. When you upload the video to bkool.com, the sound will be automatically removed, leaving you with only the image of your ride.
Different ways to record your route
You can record your routes using different modes of transport. If you choose to mount the camera in a car or on a motorbike, you will get a more stable and better quality recording than if you mount it directly on your bike.
Recording with a bike
Advantages: You record the route in real time as you cycle along it.
Disadvantages: The recording may not be very stable due to the movement of the bike.
Tips: If you choose to attach the camera to your helmet or chest harness, be aware that natural body movements, such as turning your head, can affect the quality of the video. Also, avoid having parts of your body (such as your arms) in the footage, as this may invalidate the video.
Car Recording
Advantages: The camera mount is easy to install and the recording is very stable. Also, you can charge the camera battery while driving.
Disadvantages: You will have to drive at low speed, which may cause inconvenience to other vehicles. The cable connecting the camera to the car’s cigarette lighter needs to be long enough, and the recording height will be slightly lower than a cyclist’s perspective.
Tips:
- Mount the bracket on the outside of the car, preferably on the windscreen and centred on it. Alternatively, you can mount it on the bonnet.
- Make sure the camera is not covering any part of the car and that the horizon is level in the image.
- Make a test recording to check that everything is OK.
- For long journeys, use a power source such as the car’s cigarette lighter as the battery may run down.
Recording with a motorcycle
Advantages: It is easier to keep a low speed without getting in the way of traffic, and the camera movements on a motorcycle are more like those on a bicycle.
Disadvantages: It is not common for everyone to own a motorbike, and it can be difficult to find a suitable mount for your model. Also, you should never mount the camera on the handlebars.
Tips:
- Place the bracket on a prominent part of the bike, preferably on a smooth surface. While Velcro is an option, an anchored mount will be more secure.
- Avoid mounting the camera on moving parts such as handlebars, forks or mudguards.
- The best location is on the bike’s fairing. If your bike does not have a fairing, you may consider mounting it in the centre of the handlebars.
Riding speed recommendations for videoing your cycling route
It is advisable to ride at a speed as close as possible to that of a cyclist, with a maximum variation of 10%. Pay special attention to slopes, adjusting your speed according to the incline:
– For gradients of 2-3%, ride at about 35 km/h.
– If the gradient is 7-9%, maintain a speed of 22-25 km/h.
– On gradients steeper than 10%, slow down to about 18 km/h.
On descents, you don’t need to worry so much about speed, but remember that you will be going faster than on a stationary bike, which may force you to slow down in bends or roundabouts.
Finally, if you can, try to ride the whole course without stopping. Stopping interrupts the video and you will need to edit it afterwards. Try to avoid traffic, red lights and any other situation that requires you to pause while recording.
With all these recommendations ready, all that remains is to use our BKOOL Video Route Editor to upload your cycling route video to BKOOL:
1. Download the video editor: Install the BKOOL Video Route Editor on your PC or Mac after recording your route, and make sure that your operating system is compatible.
2. Create a new project: Prepare the video file and GPX file, and make sure they are synchronised before starting a new project in the editor.
3. Review the route: The editor allows you to review and correct errors in the altitude and GPS position data, ensuring that the route is true to reality.
4. Publishing the route: Save the project frequently, check the content restrictions, and publish your video on BKOOL after logging into the platform.
If you have any further questions, you can take a look at this guide to using the BKOOL Video Route Editor.
BKOOL is the most complete cycling simulator on the market, try it FREE for 7 days!
 Go to BKOOL

Graag had ik een NEDERLANDS talige versie gezien in Bkool
Goedemiddag,
we werken er elke dag aan om ons product te verbeteren en u de beste versie te bieden. We waarderen je feedback en zullen er rekening mee houden voor de toekomst. Hartelijk dank voor uw mening
Vriendelijke groeten