Reach your goals Go to BKOOL

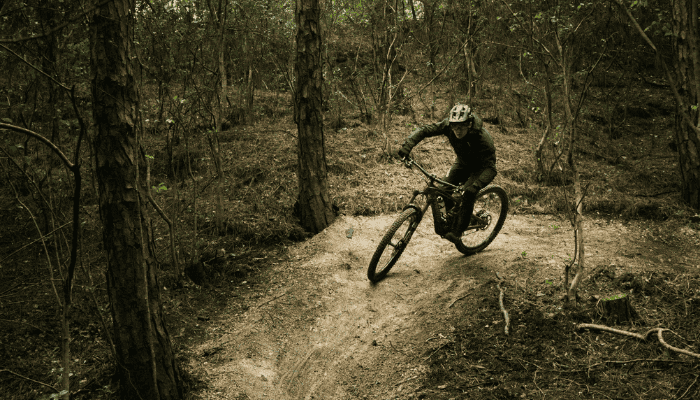
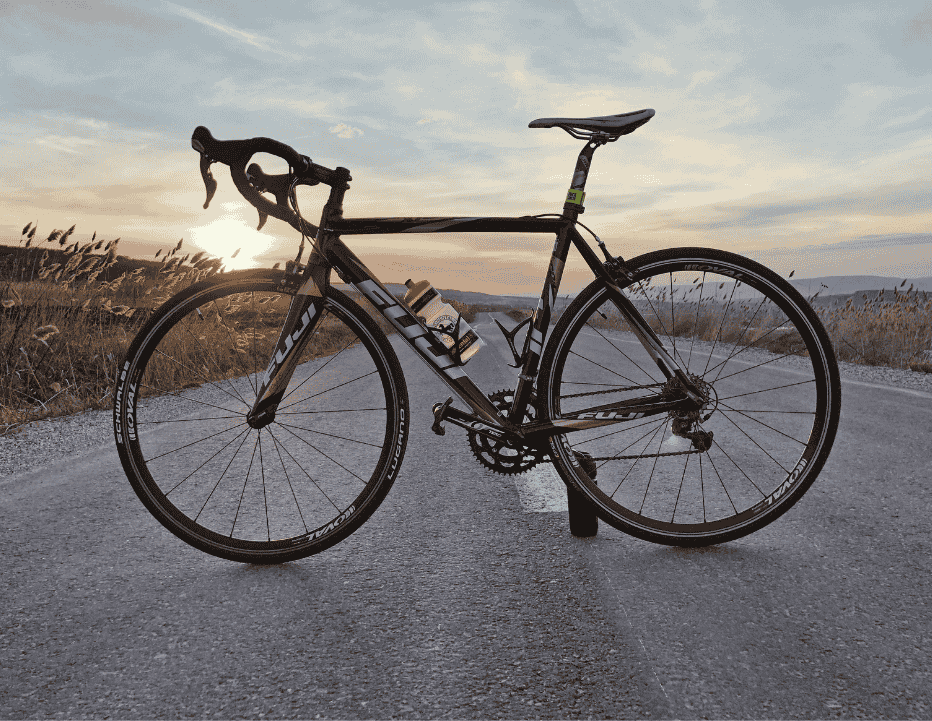
When we talk about cycling training, whether on the road, mountain biking, or indoor roller sessions, controlling the intensity of effort is essential to improve performance and avoid overtraining. This is where RPE comes into play, a simple yet very effective method to assess how hard you are working. In this article, we explain what RPE is, how to measure it in cycling, and how to apply it to your training sessions, both outdoors and in indoor cycling.

What is RPE?

RPE stands for “Rate of Perceived Exertion.” It is a subjective tool that measures exercise intensity based on how the athlete perceives it. A scale is used, generally from 1 to 10, where each number represents a level of effort:

  • 1-2: Very light, like a gentle walk.
  • 3-4: Light effort, you can hold a conversation easily.
  • 5-6: Moderate, you feel the effort but can keep pedaling for a good while.
  • 7-8: Intense, talking becomes difficult and fatigue starts.
  • 9-10: Maximum effort, you can only maintain it for a few seconds or minutes.

This scale was developed by psychologist Gunnar Borg, and although originally it ranged from 6 to 20, nowadays most cyclists and coaches prefer the simplified 1 to 10 scale for its ease of use.

Why is RPE important in cycling?

RPE in cycling is especially useful because it allows you to adjust training intensity based on how your body feels, beyond what power meters or heart rate monitors indicate. This is key on days of accumulated fatigue or when external conditions (like heat or altitude) affect your performance.

Additionally, RPE is an excellent tool for cyclists who do not have a power meter or heart rate monitor. It also serves as an ideal complement to these devices, helping interpret sensations and develop greater body awareness.

How to measure RPE in cycling

Measuring RPE is simple: at the end of each interval or session, stop for a moment and honestly ask yourself how hard the effort was on a scale from 1 to 10. Over time, you will learn to calibrate these feelings with other objective data, like power or heart rate.

A practical way to record your RPE is to keep a training journal where you note not only technical data but also your perceived effort. This will help you identify patterns, prevent overtraining, and better adjust your workload.

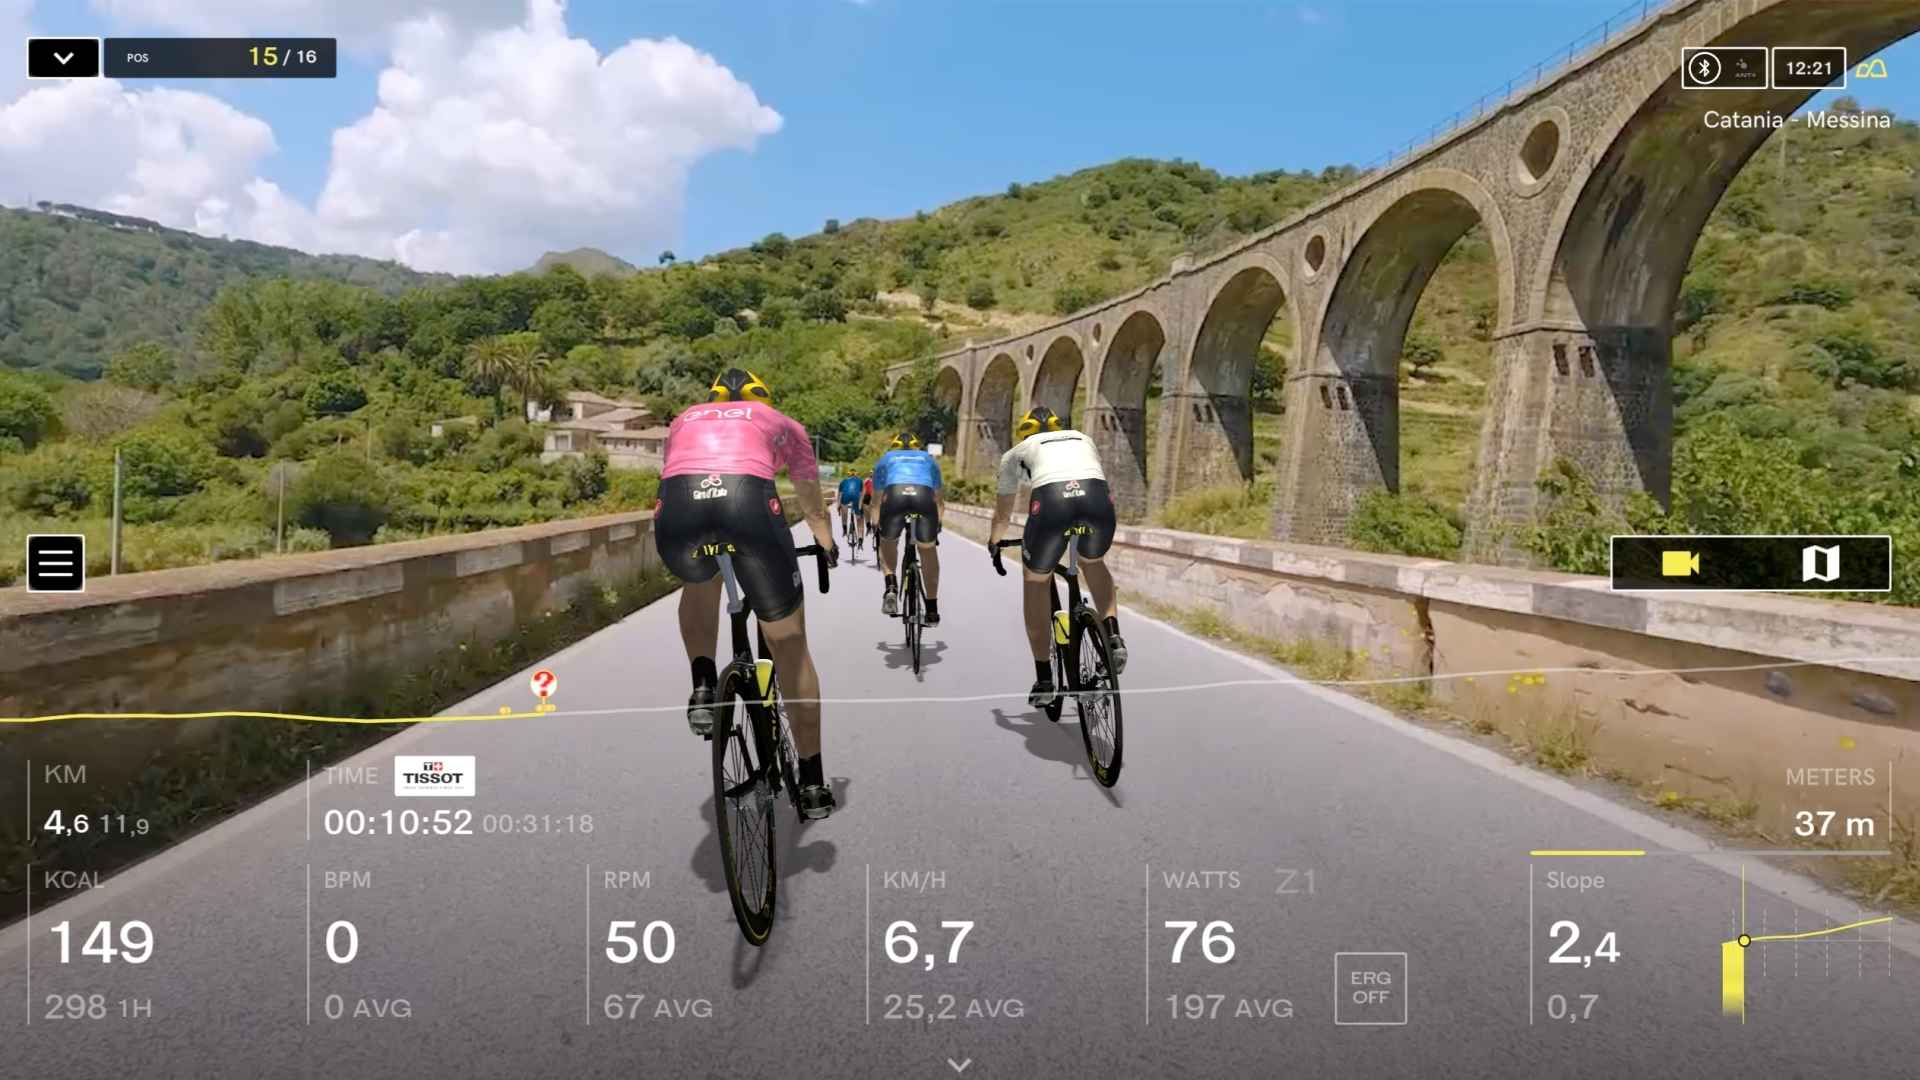
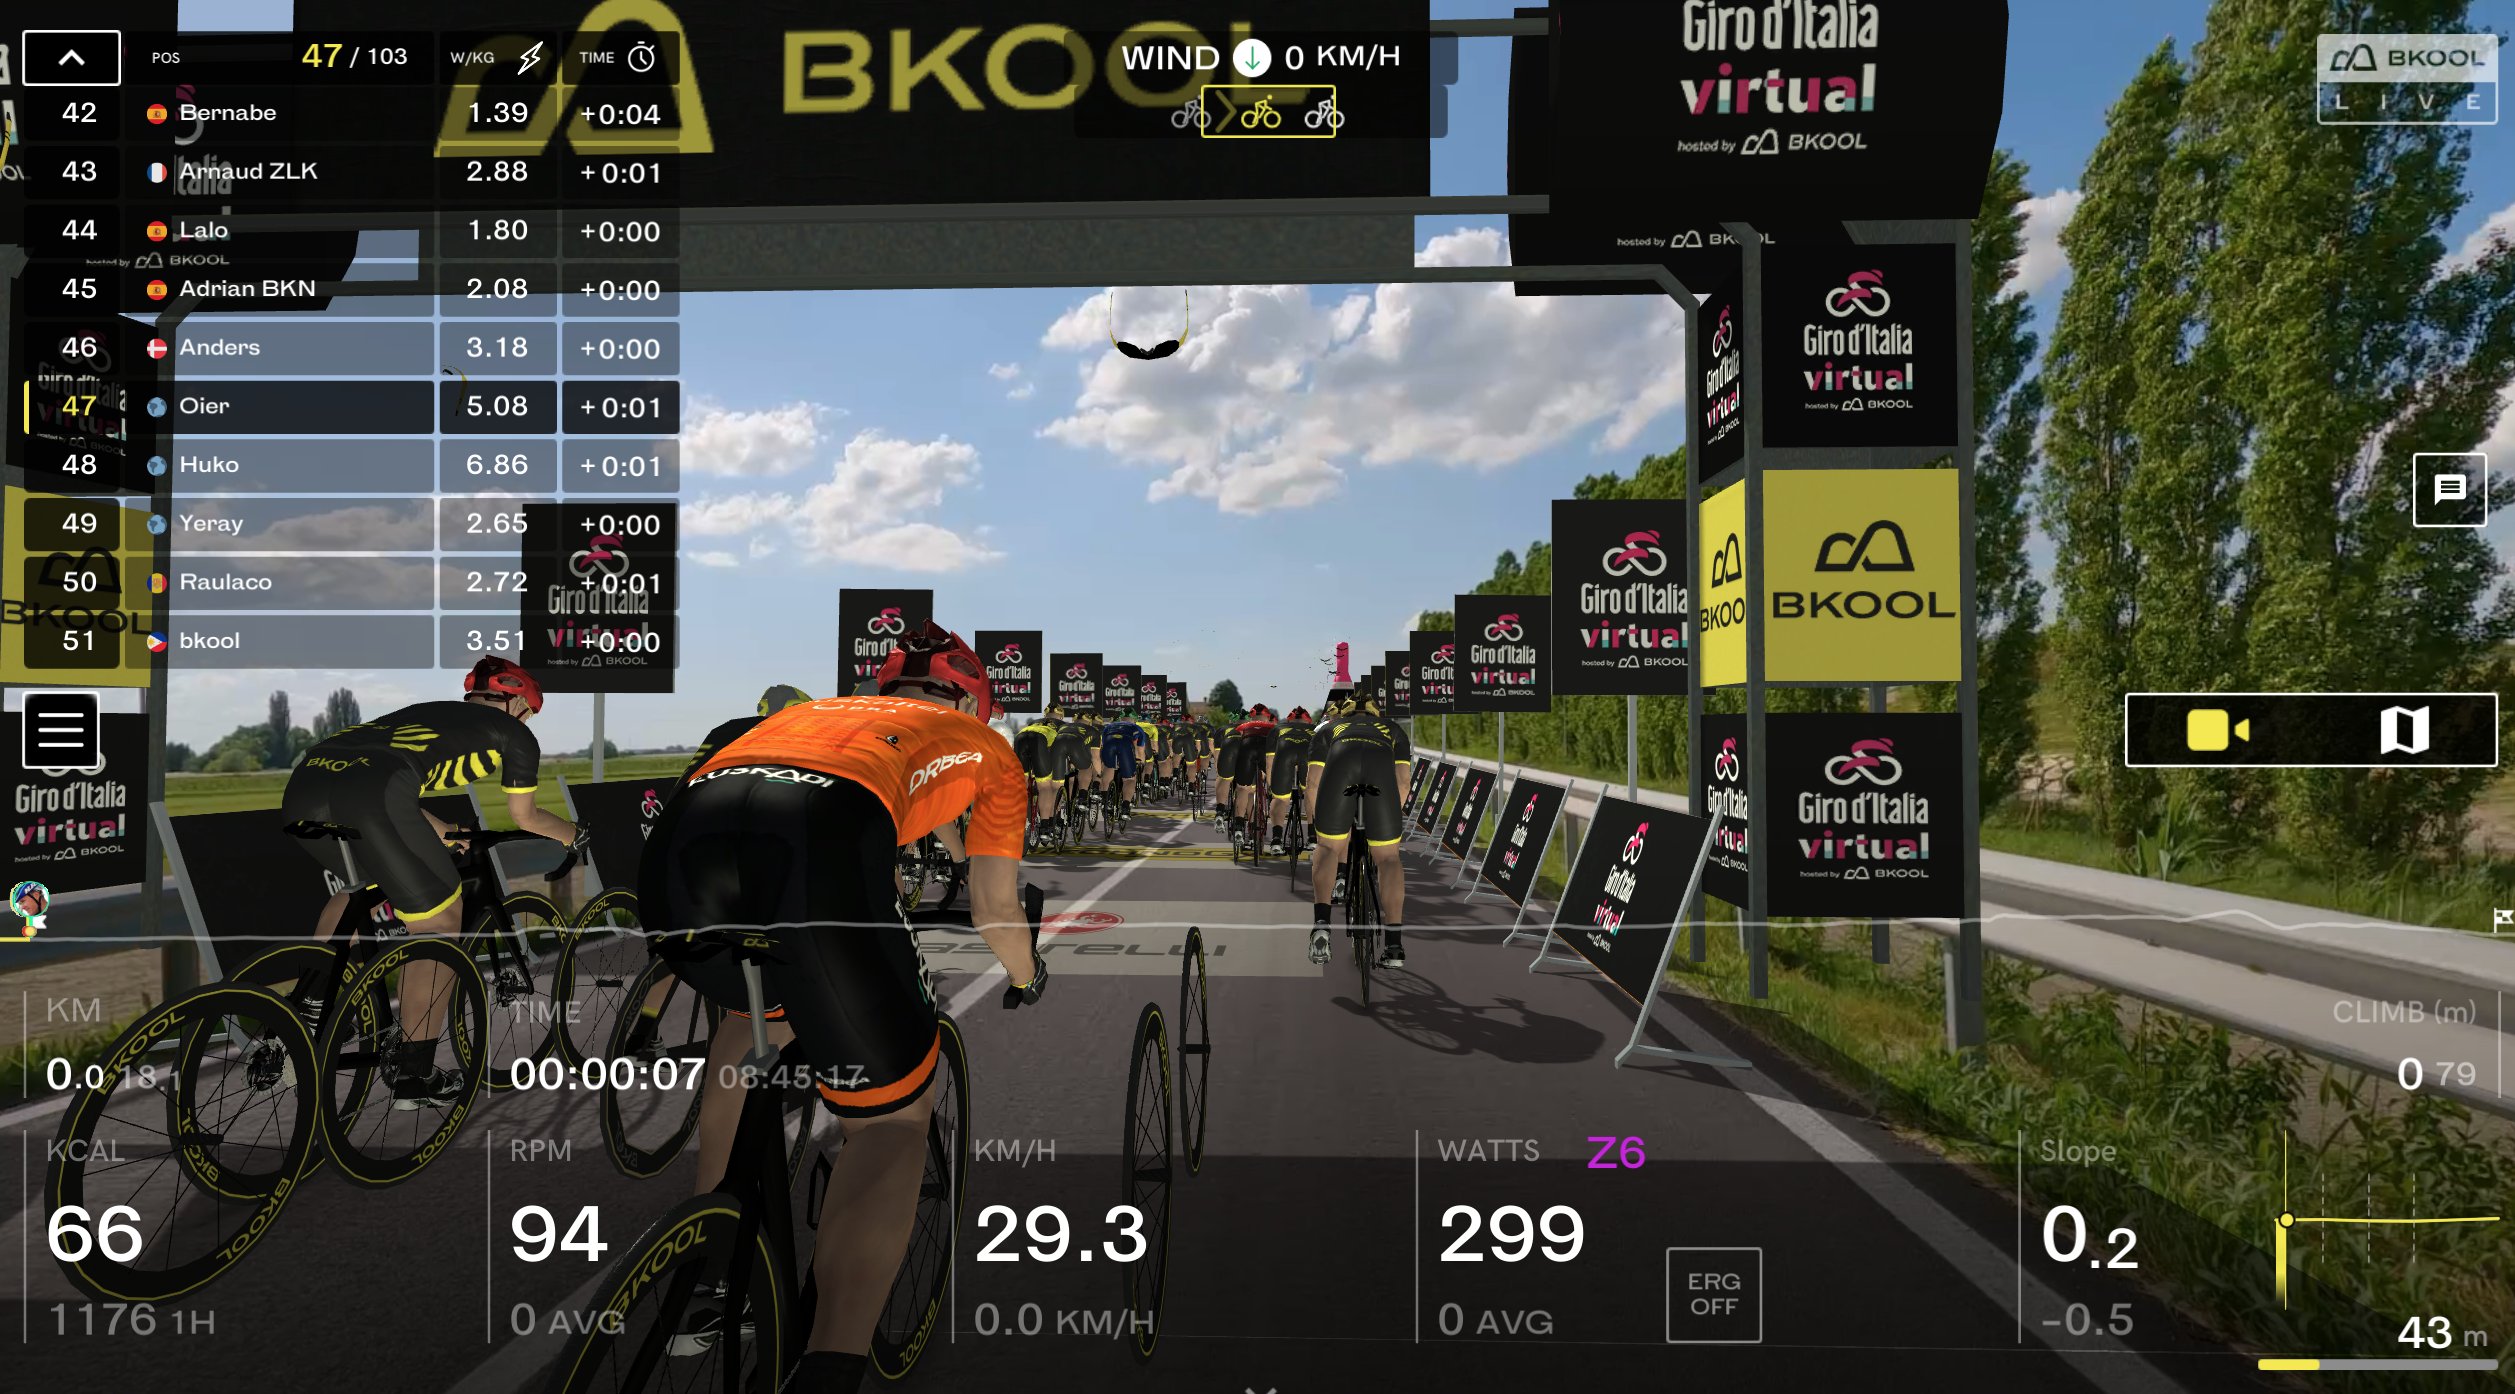
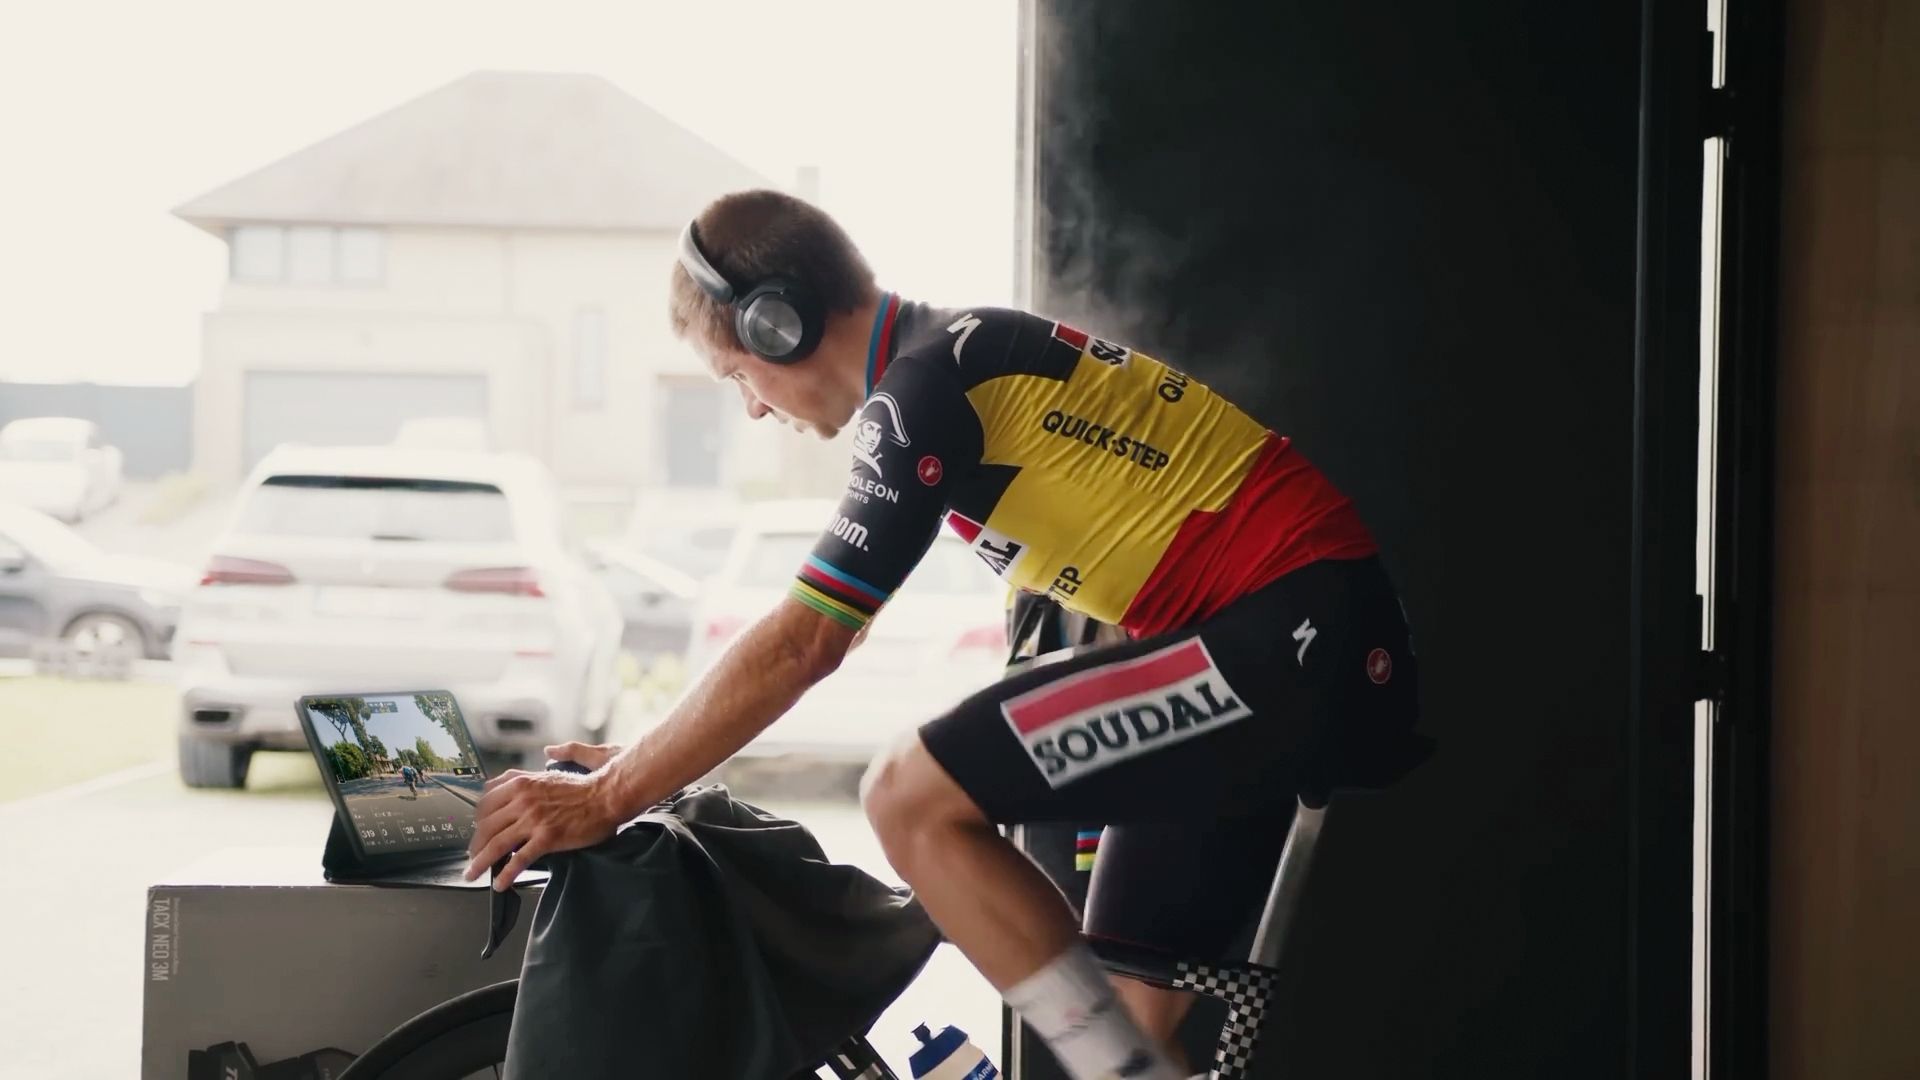
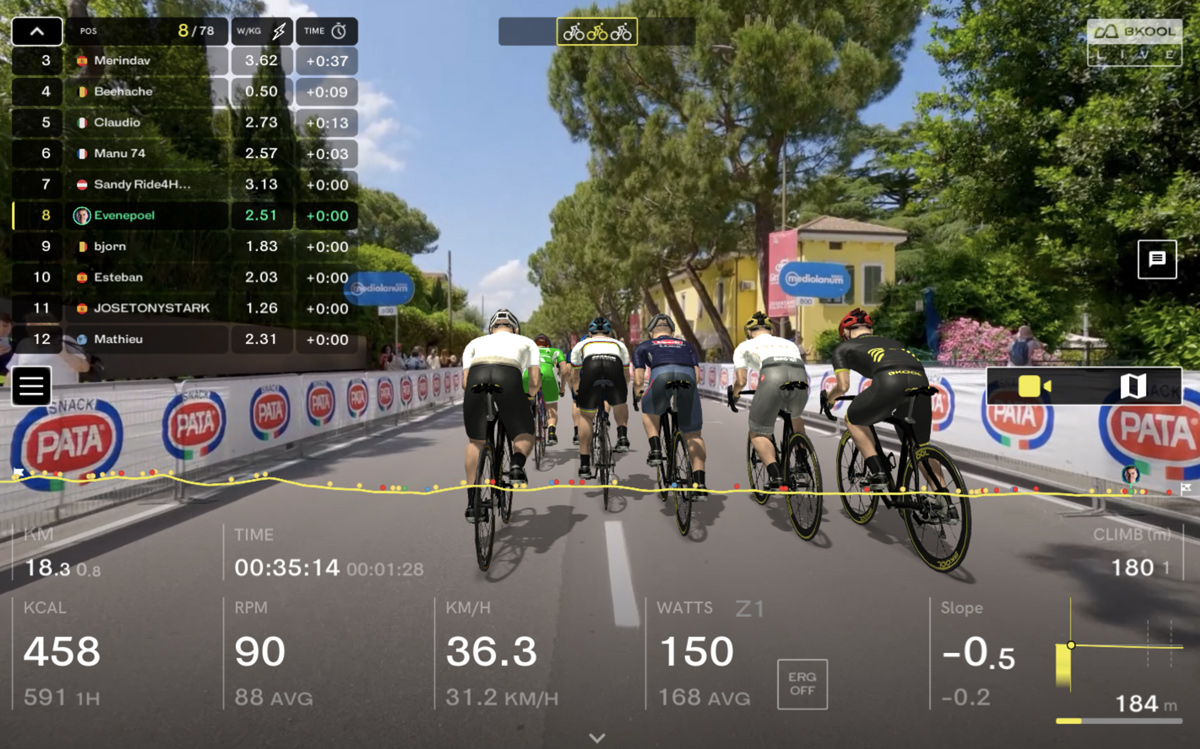
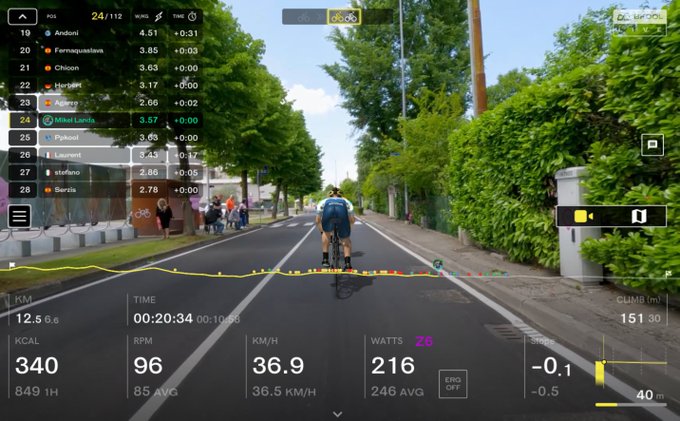
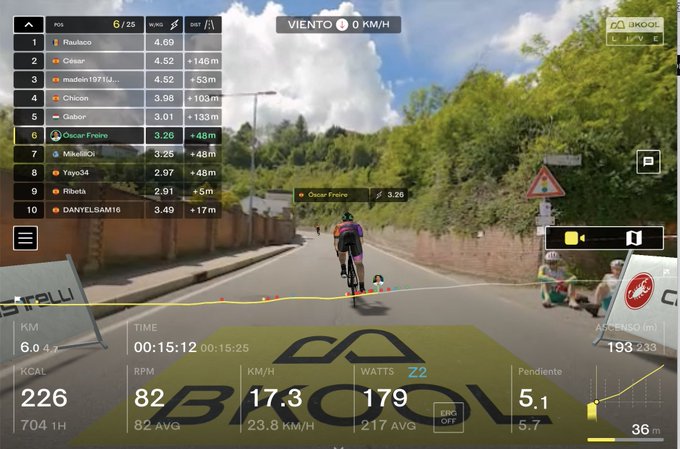
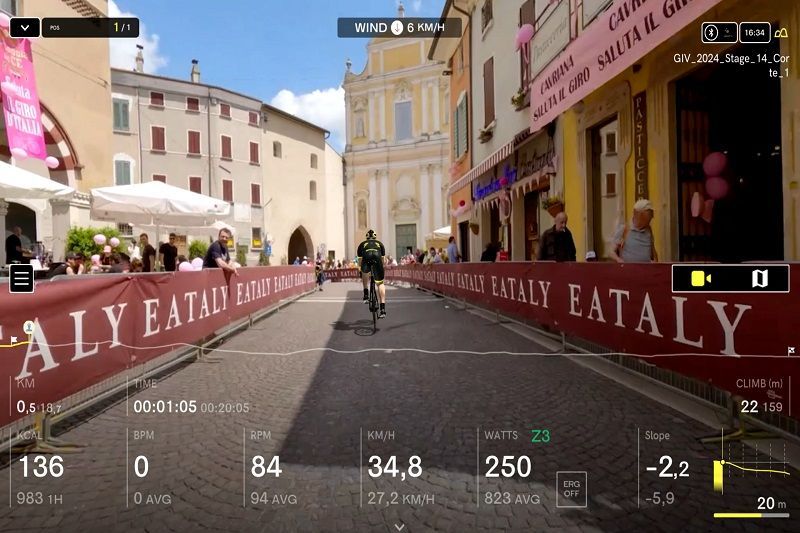
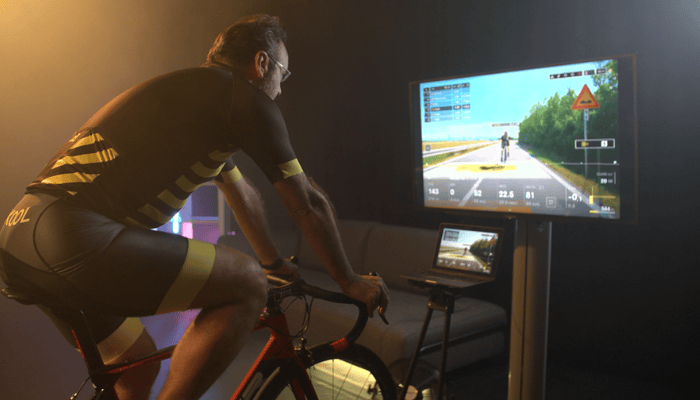
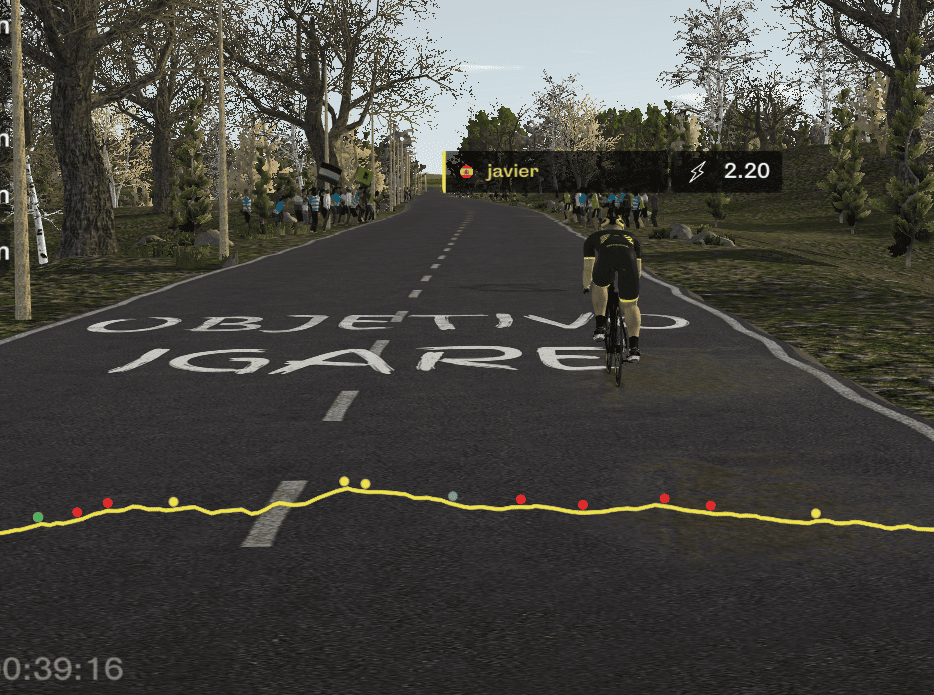
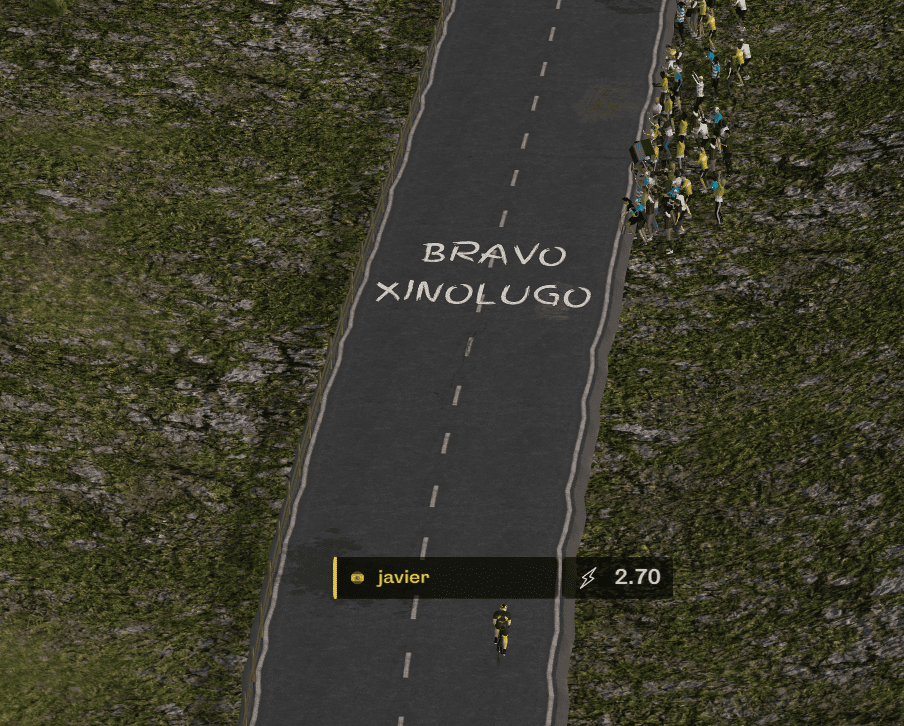
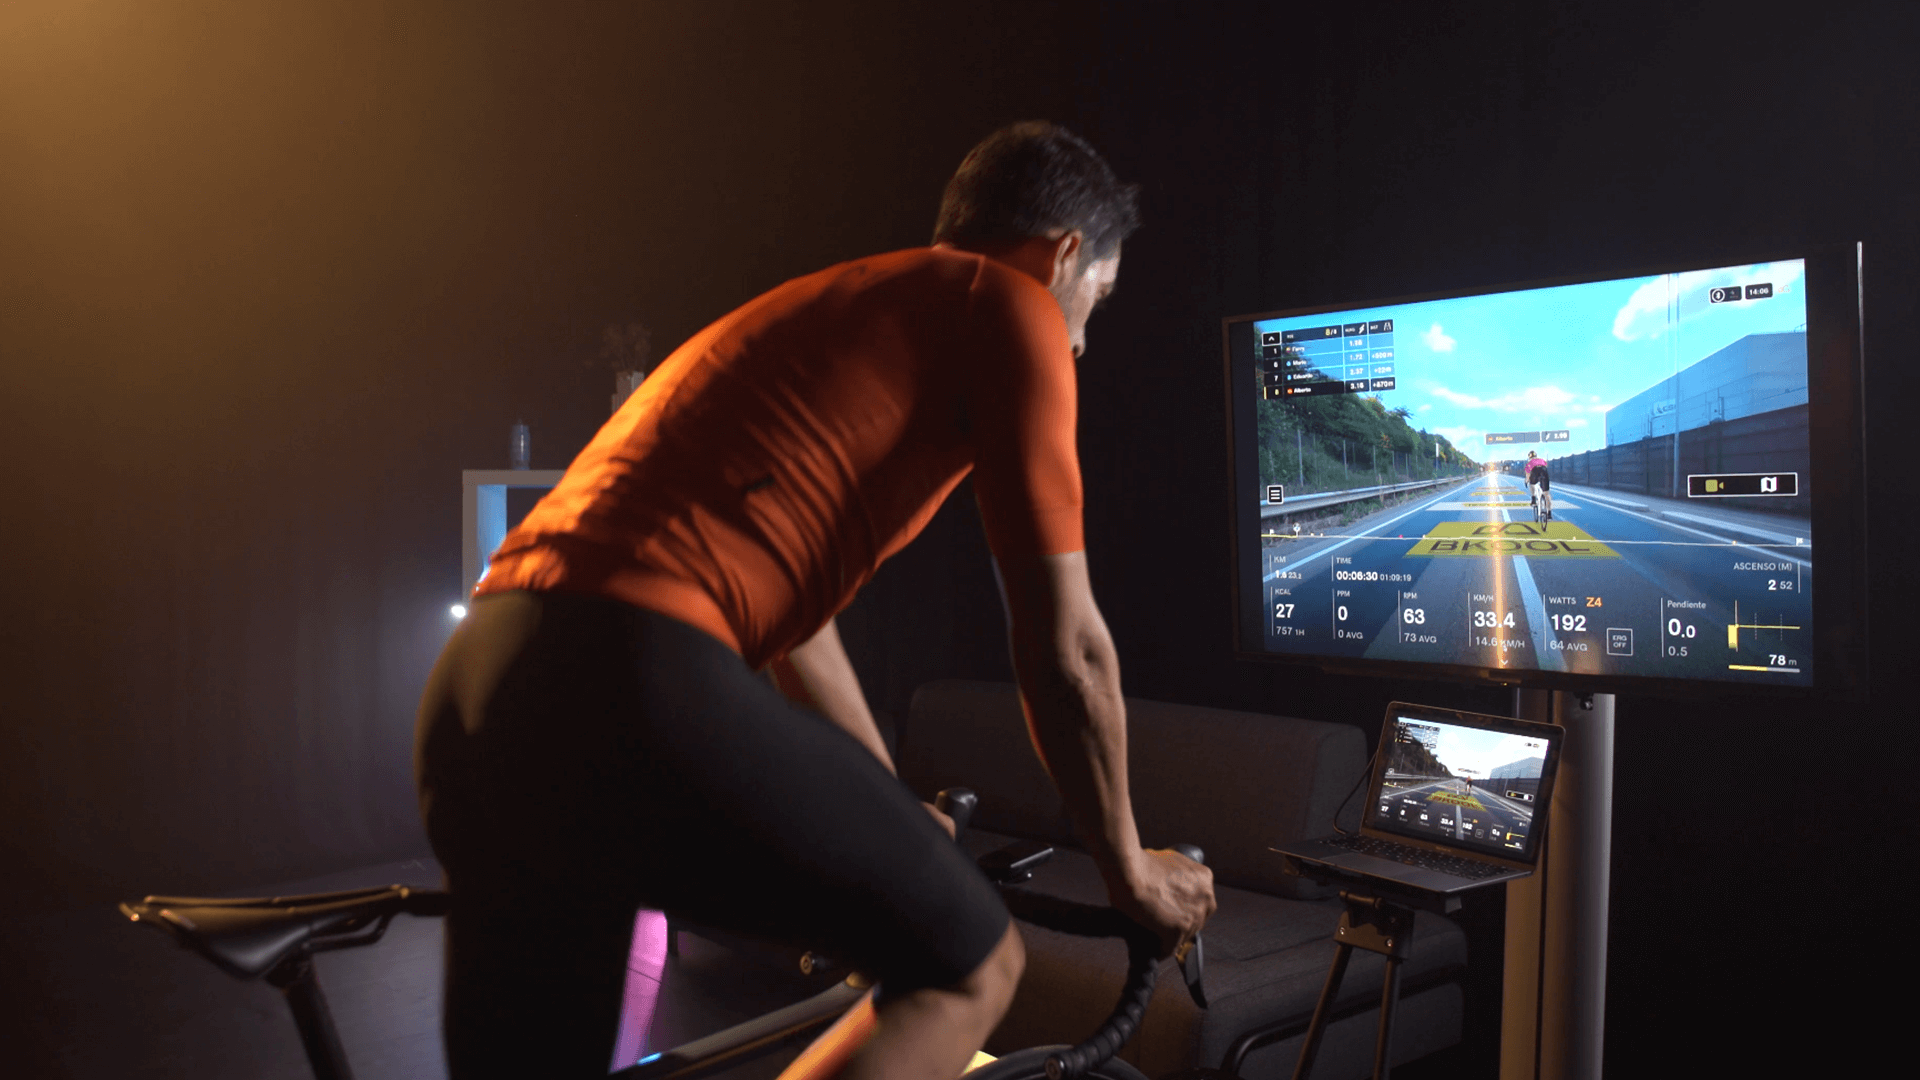
Applying RPE in indoor roller training

Indoor roller training is one of the scenarios where using RPE becomes even more relevant. With no external factors like wind or traffic, you can fully focus on your sensations. Also, rollers eliminate intensity variations due to terrain, allowing you to fine-tune your effort perception.

Many coaches structure indoor sessions based on RPE. For example, a session may include blocks of 5 minutes at RPE 7 followed by 2 minutes at RPE 3. This allows working different energy systems and adapting training even without electronic devices.

Advantages of RPE for cyclists of all levels

  • Amateurs: RPE in cycling is perfect for those starting out who do not yet have power meters or heart rate monitors. It helps them avoid overexertion and improve progressively.
  • Intermediate cyclists: It helps refine effort perception, especially in quality sessions.
  • Professionals: Complements objective data and is key during phases when the body doesn’t respond as numbers indicate (altitude, heat, accumulated fatigue, etc.).

Conclusion

RPE is a simple, accessible, and very powerful tool to improve your performance as a cyclist. Learning to listen to your body is as important as analyzing the data from your bike computer. Whether you train on the road or on an indoor roller, integrating RPE into your cycling will allow you to personalize your workouts, avoid injuries, and reach your goals more efficiently.

And you? Are you already using RPE in your cycling training?

On June 1st, British rider Simon Yates was crowned champion of the Giro d’Italia 2025, achieving his first victory in this prestigious race after an epic comeback in stage 20. This win not only marked a milestone in his career but also put the finishing touch on a historic edition.

But the excitement of the Giro didn’t end in Rome. Just hours later, our Giro d’Italia Virtual 2024, which had been taking place since October 21st, 2024, came to a close with its final stage. This unique experience not only brought professional cycling into the homes of participants but also demonstrated how technology can connect the global cycling community, creating a digital peloton united by passion and effort.

Over nine months, cyclists of all levels from 81 different countries took to their trainers to participate in our Giro d’Italia Virtual 2024. Thousands of participants tackled the most iconic routes of the 2024 Giro d’Italia, divided into 15 stages, without leaving their homes. Thanks to hyper-realistic technology combining real HD video with 3D, all participating Bkoolers were able to ride the same roads as the pros, experiencing every curve, climb, and explosive finish with unprecedented realism.

One of the highlights of the Giro d’Italia Virtual 2024 was its presence in all the finish zones of the Giro d’Italia 2025, offering fans attending the race the chance to experience it from the inside. At each real stage finish, attendees could hop on BKOOL trainers and ride a different virtual stage from the 2024 Giro, reliving epic moments from the previous edition while feeling the effort of the pros in their legs. This unique experience connected the present and past of the Corsa Rosa, allowing thousands to actively and excitingly join the challenge right at the heart of the action.

Ride alongside legends: an experience only possible with BKOOL

One of the most thrilling aspects of the Giro d’Italia Virtual 2024 was the real opportunity to ride alongside true legends of professional cycling. Throughout the event, thousands of fans rode, in real time, with iconic names like Alberto Contador and Chris Froome, experiencing something normally reserved for a chosen few. It wasn’t just about following their virtual wheels — it was about being part of the same peloton, on the same course segments, climbing the same slopes, and even comparing pace and performance.

In addition, current stars from teams like Soudal Quick-Step and Polti Kometa also joined the experience, bringing pro cycling even closer to the global community. Cyclists like Mattia Bais, Gil Gelders, Paul Magnier, and Pepijn Reinderink rode the virtual roads of this legendary cycling event while hundreds of fans followed their wheels. Seeing these figures appear, with their personalized avatars and official kits, was a magical moment for many users.

More than just training, it was an unforgettable experience that brought thousands of cyclists closer to the dream of competing — if only for a moment — like the very best.

The epic showdown between Contador and Froome

One of the most memorable moments of this Giro d’Italia Virtual was undoubtedly the symbolic face-off between two cycling giants: Alberto Contador and Chris Froome. Both took part in an epic Group Ride that created a real pro race atmosphere. Users could not only watch them in action but also compete alongside them and ask questions answered live on Instagram. That duel revived great moments from past Grand Tours, now in a digital setting where fans and legends shared the same virtual asphalt.

Remco Evenepoel’s return to training in an emotional Group Ride

Another big surprise was the appearance of Remco Evenepoel, who used the Giro d’Italia Virtual as part of his gradual return to training. His participation caused a stir among users, who were highly motivated to see a global cycling star back on the road — even if only virtually — riding the same routes as them. His presence was a huge boost for all connected cyclists.

Mikel Landa: commitment and connection with Bkoolers

The charismatic Mikel Landa also joined the experience, once again showing his closeness to fans. Landa didn’t just ride: he encouraged, responded to messages, and shared his vision of indoor training, proving that modern cycling can be lived at home without losing any of the excitement.

Óscar Freire: a legend in every pedal stroke

The Giro d’Italia Virtual 2024 also featured a very special appearance: Óscar Freire, three-time world champion, got back on the bike to ride with thousands of cyclists. His presence was a true gift for fans of 2000s cycling and a masterclass in elegance on the trainer. Freire once again showed why he’s a living legend of cycling — now in the virtual world too.

Legendary numbers: this is how we rode the Giro d’Italia Virtual 2024

The Giro d’Italia Virtual 2024 was not only a physical challenge but also an unforgettable collective experience that united cyclists from all over the world in a shared passion. Bkoolers from over 81 countries participated, riding an astonishing 337,905.5 kilometers across 29,938 sessions. That’s the equivalent of circling the equator more than eight times — all without leaving the trainer.

In total, participants accumulated over 17,690 hours of pedaling — the equivalent of over two full years of nonstop riding. But the most impressive figure was the total elevation gain: 5,737,467 meters — that’s like climbing Everest more than 648 times or ascending the Eiffel Tower over 14,000 times. Energy-wise, the effort was monumental too: over 10,408,606 kilocalories burned, enough to run nearly 25,000 full marathons.

These numbers don’t just reflect the scale of the challenge — they highlight the commitment, motivation, and boundless energy of a global cycling community ready to give their all, day after day, to reach glory in this unique Giro.

Prizes, excitement, and legendary cycling

As if riding alongside great stars and experiencing the stages of the Giro d’Italia 2024 firsthand wasn’t enough, this virtual edition was also full of unforgettable surprises and prizes. Throughout the event, exclusive prize draws were held for participants, offering the chance to win VIP experiences to watch the Giro d’Italia live and take home some of its most iconic symbols.

Many lucky users got their hands on one of the official Giro jerseys: the Maglia Ciclamino for the best sprinters; the Maglia Azzurra, symbol of the King of the Mountains; the elegant Maglia Bianca for the best young rider; and, of course, the iconic Maglia Rosa, the jersey representing ultimate glory.

These prizes not only served as extra motivation but also added a layer of competition and reward that made this global cycling experience even more special. A virtual Giro, yes — but with very real emotions and prizes.

Thank you to everyone who was part of this adventure. The Giro d’Italia Virtual 2024 proved that indoor cycling isn’t just about training — it’s the union of passion, community, and technology. See you in the next edition!

BKOOL is the most complete cycling simulator on the market, try it FREE for 7 days!

What is Z2 Training?

In the world of cycling training, the term Z2 refers to Zone 2 aerobic intensity, one of the fundamental zones in structured performance planning. Z2 training falls within a low-intensity range, generally between 60% and 70% of your maximum heart rate (MHR) or 56% to 75% of your functional threshold power (FTP). While this intensity may seem easy, its long-term performance benefits are significant.

Far from being a “light” or pointless session, Z2 is the foundation of aerobic development, essential for both elite and amateur cyclists. In a context where high-intensity workouts are often overvalued, understanding and properly applying Z2 training can be a game changer.

Why is Z2 Cycling Training So Important?

1. Builds Your Aerobic Base

Z2 training activates key metabolic mechanisms: it improves fat oxidation, increases the number of mitochondria in muscle cells, and enhances the oxygen transport capacity. These adaptations lead to improved endurance and better energy efficiency.

2. Allows High Volume Without Overloading the Nervous System

Because it is low intensity, the systemic load is minimal, allowing you to accumulate many hours without building excessive fatigue. This is key in endurance sports like cycling, where total volume matters.

3. Facilitates Active Recovery

Z2 can also be used as a recovery session, stimulating circulation without adding physiological stress. It’s perfect for days following intense workouts or races.

ciclismo huesos
Source: Canva

How to Identify Your Zone 2

To train effectively in Z2, it’s essential to know your personalized ranges. You can calculate your Z2 using:

  • Heart rate: 60–70% of your maximum heart rate.
  • Power (watts): 56–75% of your FTP. To find your FTP, perform a 20-minute test using a simulator like BKOOL.
  • Rate of Perceived Exertion (RPE): On a scale of 1 to 10, Z2 usually feels like a 3 or 4. You should be able to talk normally while riding.

A common mistake is thinking you’re not training properly if you’re not sweating a lot or feel relaxed. It’s actually the opposite: if you stay within the correct range, you’re triggering deep metabolic adaptations that will help you perform better for longer.

How to Structure Your Z2 Cycling Training

During the Base Phase

In the early weeks of your plan (pre-season or base phase), ideally 60–80% of your weekly training volume should be done in Z2. The goal is to build a strong aerobic foundation to later add more intense work.

During Competition Season

Once in competition season or more specific training blocks, your Z2 volume may decrease, but it still plays a key role in maintenance and recovery. Many professionals still ride 6–8 hours a week in Z2 even during racing periods.

Combining with Other Zones

Z2 cycling training doesn’t exclude high-intensity sessions. Ideally, combine Z2 rides with Z4/Z5 intervals depending on your goals. But remember: more is not always better. Balance is key.

training-cycling-road

Z2 Training on the Trainer or Indoors: A Real Advantage

Train at Home Without Interruptions

One of the main challenges of outdoor Z2 training is the lack of continuity: traffic lights, cars, terrain changes… All of these interrupt steady effort. That’s where indoor training with a smart trainer, especially using simulators like BKOOL, makes a big difference.

Thanks to ERG mode, you can set a fixed power output and forget about adjusting it manually. This ensures your entire session stays within the desired zone—crucial when training in Z2.

Motivation and Precision with BKOOL

BKOOL not only allows you to structure sessions precisely, but also offers realistic routes, virtual environments, and the ability to measure your performance in detail. You can ride long Z2 sessions while watching a legendary Tour de France stage, exploring mountain landscapes, or taking part in virtual events—all while building your aerobic base.

Plus, instant feedback on power, cadence, and heart rate helps you adjust your effort in real time.

Tips to Get the Most Out of Your Z2 Cycling Training

Now that we’ve covered the theory and understand the importance of Zone 2 training, it’s time to apply it effectively. Below are some tips to help you maximize every Z2 session. While it may seem simple at first glance, doing it right is what makes the difference between plateauing and progressing steadily.

  • Don’t underestimate its value: Many cyclists skip Z2 because they find it “boring.” But without a base, there’s no long-term progress.
  • Be patient: The benefits of Z2 training aren’t immediate, but they’re long-lasting.
  • Mix indoor and outdoor sessions: Use bad weather days for indoor Z2 training and good days for outdoor rides.
  • Pay attention to nutrition: During long Z2 sessions, especially those over 2 hours, fueling properly is key to sustaining energy.
  • Test regularly: Check your FTP and maximum heart rate every 8–12 weeks to adjust your training zones.
  • Follow a structured plan: Avoid improvisation. Use platforms like BKOOL to follow guided workouts or design your own based on your goals.

Z2 Training and Indoor Cycling: The Perfect Combo

The rise of indoor cycling has highlighted the importance of structured training. And within that structure, Z2 cycling training plays a central role.

With platforms like BKOOL, you can complete uninterrupted Z2 sessions, explore motivating routes, and monitor your performance in detail. You can also organize workouts in blocks, create custom sessions, and track your progress with accuracy.

For cyclists with limited time, Z2 trainer sessions let you make the most of every minute—regardless of outdoor conditions.

Conclusion

Z2 training is not just for beginners or “easy” days. It’s one of the cornerstones of cycling performance. Whatever your level, dedicating time and effort to improving your aerobic capacity will pay off in the medium and long term.

Whether on the road or at home with your trainer, Z2 sessions should be a regular part of your weekly plan. Patience, consistency, and smart planning are the keys to seeing results.

Remember: sometimes, going slower is the best way to go further when it really counts.

BKOOL is the most complete cycling simulator on the market, try it FREE for 7 days!

Starting out in the world of mountain biking is an exciting adventure. Feeling the freedom of the trails, connecting with nature, and improving your fitness are just some of the appeals of MTB. But to truly enjoy this discipline, having a solid foundation is essential. That’s why, if you’re a beginner, having a MTB training plan tailored to your level will help you progress with safety and confidence.

This article offers a complete guide to training for beginner mountain bikers, with practical tips and a balanced weekly schedule. We also explain how to complement your rides with indoor training using platforms like BKOOL, perfect for staying consistent even when you can’t ride outside.

Why follow an MTB training plan?

Unlike road cycling, MTB involves a more technical and explosive effort, with constant changes in pace, steep gradients, and uneven surfaces. That’s why just going out to ride without structure isn’t enough: a specific training plan for MTB beginners will help you avoid injuries, improve endurance, and master bike control on challenging terrain.

Moreover, a well-designed plan allows you to establish routines, track your progress, and stay motivated—especially important in the first few months when it’s easy to get discouraged by a lack of visible results.

Key aspects of training for MTB beginners

When starting your training, there are four basic pillars that must be part of your routine:

1. Aerobic endurance

This is the foundation of any cyclist. Improving cardiovascular endurance will allow you to stay on the bike longer without getting exhausted. As a beginner, dedicate at least two days a week to easy rides between 60 and 90 minutes, keeping a comfortable pace. Ideally, you should be able to talk while pedaling without losing your breath.

2. Technique and control

MTB is not just about pedaling: knowing how to handle the bike on descents, curves, and rocky or root-covered terrain is essential. Set aside one day a week to practice technique on gentle trails. You’ll gradually build confidence and tackle more demanding routes.

3. Muscle strength

Steep climbs, sudden changes in pace, or muddy sections require leg strength and core stability. Incorporate functional exercises at home, such as squats, planks, or lunges. You don’t need special equipment: your body weight is enough to start.

4. Rest and recovery

Training every day may seem like a good idea, but your body actually needs time to adapt. Schedule at least one full rest day per week, and another with very light activity. Listening to your body is as important as training itself.

Weekly MTB training plan for beginners

Here is a sample weekly routine, designed for beginner cyclists who want to build a solid base. You can repeat it for 4 weeks, adjusting intensity as you progress.

Monday: active recovery or an easy 30-minute ride to aid muscle recovery.

Tuesday: indoor training session with BKOOL. Ride for 45 minutes at a steady pace, maintaining a regular cadence. Perfect for building endurance without external interruptions. For this type of steady effort, we recommend using our velodrome.

Wednesday: technique ride. Find an easy trail and focus on improving your bike position, braking, and cornering. 60 minutes is enough to train without fatigue.

Thursday: complete rest. Take the opportunity to stretch, check your bike, or simply relax.

Friday: functional strength session. 20 minutes of exercises like squats, heel raises, or front planks. You can do it at home with no equipment.

Saturday: long ride between 90 and 120 minutes. Choose an easy route with some elevation. Work on endurance and pacing.

Sunday: recovery ride or easy BKOOL session. Keep the intensity low for 30 minutes. Again, we recommend using the velodrome to train steadily at your chosen intensity.

Indoor training with BKOOL: the ideal tool

Many cyclists in Spain already include indoor training in their weekly plans, especially during winter months or bad weather. If you’re new to MTB, platforms like BKOOL offer a safe and effective way to train from home.

Thanks to its realistic simulation system, you can ride virtual routes, follow structured workouts, or compete with other users. BKOOL also records your data (watts, heart rate, cadence), allowing you to track your progress over time. It’s the perfect way to complement outdoor rides without leaving home.

Extra tips for MTB beginners

To get the most out of your training plan, here are some practical tips:

  • Make sure to wear proper gear: helmet, gloves, sunglasses, and technical clothing.
  • Before each ride, check your bike: brakes, drivetrain, and tire pressure.
  • Stay hydrated, even on short rides, and always carry a bar or snack.
  • Use apps or GPS devices to track your routes and times. It helps with motivation.
  • Join a local MTB group. Riding with others accelerates learning and makes it more fun.

Conclusion

MTB training for beginners doesn’t have to be complicated. With a simple, balanced plan tailored to your needs, you can improve your performance safely and consistently. Combining outdoor rides with indoor sessions on BKOOL is the best way to stay consistent and make progress even when you can’t ride outside.

Remember: the key is consistency, patience, and enjoying the journey.

BKOOL is the most complete cycling simulator on the market, try it FREE for 7 days!

With the arrival of spring, the days get longer, the weather improves, and our desire to ride multiplies. It’s the perfect time to boost your motivation and explore new landscapes — even from your indoor trainer. That’s the spirit behind Spring Stages by CADENZA XTREME, an event designed for those who love cycling without giving up style or personal care.

From May 19 to June 1, you’ll be able to ride two routes that will transport you to dreamy holiday destinations. In addition, during each of the 2 weeks of the event we will raffle 4 exclusive glasses every week among all the Bkoolers who have completed the corresponding stage. Style and protection within reach. If you’re looking for a great reason to keep training and refresh your gear, this event is for you.

What stages are included in this new event?

Ride one of the world’s most iconic beach coastlines — all without leaving home. Pedal between golden sand and luxury architecture while enjoying your favorite sport.

Cycle along the enchanting Amalfi Coast and discover crystal-clear waters and villages full of history and tradition.

Spring Stages by CADENZA XTREME is more than just an event: it’s an invitation to keep training with excitement, travel without leaving home, and take care of your vision as you ride into the warmer season. Two routes, two weeks, and eight chances to get a pair of cycling glasses.

So now you know: hop on your trainer, choose your destination, and enjoy cycling with a spring vibe and stylish flair.

BKOOL is the most complete cycling simulator on the market, try it FREE for 7 days!

Do you want to improve your cycling performance and enjoy every ride more? A well-structured road cycling training plan is the foundation to achieve your goals, avoid injuries, and make steady progress. In this article, we’ll guide you step by step on how to design your plan, integrating both road sessions and indoor training with a smart trainer using cycling simulators like BKOOL.

Whether you’re a recreational cyclist, a cycling enthusiast, or just getting started in the world of road cycling, this guide will help you train smarter.

1. Assess Your Starting Point

Before building a cycling training plan, you need to understand your current fitness level. This initial assessment helps you set personalized training zones and realistic goals. Here are the basic steps:

  • Take an FTP test (Functional Threshold Power) or a heart rate test if you don’t have a power meter. With BKOOL, you can do FTP tests directly from your trainer with real-time data monitoring and guided sessions tailored to your level.
  • Evaluate your current weekly volume: hours, kilometers, and ride frequency.
  • Consider your injury history, motivation level, and time availability.

2. Plan in Phases: Periodization

Road cycling training should be organized in phases or blocks. This method, called periodization, helps you develop skills progressively and with purpose.

Base Phase (8–12 weeks)

Build aerobic endurance by training in zones 2 and 3 with long, steady rides. If you can’t train outdoors during the week, use your smart trainer to accumulate hours with controlled sessions. BKOOL offers virtual routes from all over the world, perfect for this phase.

Build Phase (6–8 weeks)

Increase intensity with threshold intervals, VO2 max efforts, and hill strength. Combine quality outdoor training with structured sessions on BKOOL to precisely target power and cadence.

Specific Phase (4–6 weeks)

Tailor your sessions to your specific event or goal: long climbs, pace changes, sprints.

Taper Phase

Reduce volume while maintaining intensity. Arrive at your event fresh and energized. Short trainer sessions are perfect in this phase to stay sharp without overloading the body.

3. Weekly Cycling Training Distribution

If you have 6 to 10 hours available per week, this could be a balanced structure:

  • Monday: Full rest or recovery spin on the trainer (30–45 min zone 1).
  • Tuesday: Hill strength or cadence drills.
  • Wednesday: Threshold intervals (e.g., 3×10 min at 95–100% FTP).
  • Thursday: Easy spin or rest.
  • Friday: Variable intensity (30/30 intervals or fartlek).
  • Saturday: Long endurance ride (3–4 hours in zone 2–3).
  • Sunday: Social ride or recovery spin.

With BKOOL, you can adapt this structure using pre-programmed workouts that automatically adjust the load based on your FTP, optimizing each session.

4. Strength Training: Your Off-Bike Ally

Strength training improves pedaling efficiency, prevents injuries, and strengthens posture. You don’t need a gym: 1–2 sessions per week with exercises like squats, core work, lunges, or deadlifts are enough. Complement your cycling training with simple at-home routines.

5. Listen to Your Body and Adjust the Plan

It’s not just about logging more kilometers. Signs like fatigue, insomnia, or a plateau in performance indicate it’s time to tweak the plan. Recovery is key to improvement. With BKOOL, you can track your progress with accurate data and adapt your training accordingly.

6. Indoor Trainer Workouts: An Essential Tool

Indoor cycling doesn’t replace outdoor training but complements it effectively. It’s especially useful in winter, in bad weather, or when time is limited. A smart trainer lets you train anytime.

With BKOOL, you can:

  • Complete structured workouts with automatic resistance control.
  • Ride realistic virtual routes and iconic climbs from home.
  • Simulate race conditions: wind, drafting, real-world profiles.
  • Save time and train with precision.

Thanks to its smart training system, BKOOL turns your home into the best place to train.

Train Smarter, Not Just Harder

A road cycling training plan gives you structure, motivation, and purpose for each ride. It’s not just about doing more kilometers, but doing them wisely. Integrate indoor training, listen to your body, and stay consistent.

With platforms like BKOOL, your cycling training reaches a new level. Train whenever you want, however you want, with real data that helps you improve week after week.

BKOOL is the most complete cycling simulator on the market, try it FREE for 7 days!

Keeping your bike’s gears in perfect condition is essential not only to improve performance, but also to ensure safety and extend the lifespan of the drivetrain. A well-adjusted gear system allows for smooth transitions between cogs and chainrings, optimizing pedaling and preventing premature wear.

In this article, we’ll explain step by step how to inspect and adjust your bike’s gears so you can ride with full confidence, whether you train on the road or on the trails.

Why is it important to check your bike’s gears?

The gears are one of the most sensitive components of your bike. They are exposed to mud, rain, dust, and impacts. Without regular maintenance, issues like misalignment, strange noises, chain skips, or even breakages are common. A poorly adjusted gear can cause you to lose a gear on a climb or make the chain fall off, potentially causing a crash.

That’s why it’s recommended to check your bike’s gears every few weeks if you ride regularly, or before any long or demanding ride.

What tools do you need?

Before you begin, make sure you have:

  • A bike repair stand (optional but very useful).
  • A Phillips screwdriver.
  • An Allen key (usually 5 mm).
  • Specific lubricant for cables and chain.
  • A clean cloth.

Step by step: how to inspect and adjust your bike’s gears

1. Visual inspection

Place the bike on the stand or carefully flip it upside down. Pedal and watch how the chain moves when shifting. Look out for skips, delays when changing, or metallic noises.

Also check the condition of the cables. If they’re rusty, frayed, or unevenly tensioned, they should be replaced.

2. Rear derailleur check

The rear derailleur does the most work and is usually the first to fall out of adjustment. Make sure the derailleur hanger (the part connecting it to the frame) is straight. If it’s bent, you’ll need a specific tool to realign it.

Next, check the limit screws (marked H and L). These control how far the derailleur can move to prevent the chain from going past the largest or smallest cog.

  • The H screw limits movement toward the smallest cog.
  • The L screw limits movement toward the largest cog.

Shift manually and adjust the screws until the derailleur aligns perfectly with the corresponding cog.

3. Cable tension

Once the limit screws are set, adjust the cable tension. Use the barrel adjuster (usually on the shifter or derailleur). If the chain doesn’t move easily to larger cogs, tension is too low; if it won’t shift to smaller cogs, it’s too high. Turn the barrel counterclockwise to increase tension, clockwise to reduce it.

4. Front derailleur adjustment (if applicable)

Repeat a similar process for the front derailleur. Ensure the chain doesn’t rub on the guide in any chainring/cog combination. Adjust the limit screws (also marked H and L) and cable tension if needed.

5. Lubrication and final cleaning

Before finishing, clean the chain with a dry cloth and apply specific lubricant. This will improve shifting performance and help prevent premature wear on the components.

Don’t forget to


  • Avoid cross-chaining (big chainring with big cog, or small chainring with small cog), as it causes unnecessary tension.
  • If you can’t get the system to work properly after adjusting, visit a bike shop. A bent hanger or worn chain might need replacement.
  • Learn to listen to your bike: a click or a skip can be an early warning before a bigger issue arises.

Conclusion

Knowing how to inspect and adjust your bike’s gears gives you freedom and confidence as a cyclist. Although it may seem tricky at first, with practice and patience, you’ll develop the habit of keeping your drivetrain in top condition. Remember: a well-tuned bike is faster, safer, and lasts longer.

3 Grand Tours, one Bkooler, and a meaningful cause. Javier García, a long-time BKOOL user known on social media as Xinolugo, has set himself an ambitious goal: to ride the Giro d’Italia, the Tour de France, and La Vuelta—covering the transfers between these races using his bike as the sole mode of transportation.

This journey, spanning approximately 20,000 km, will be undertaken in a self-supported format, reviving the spirit of adventure that defined these great races in their early days. But accomplishing such an extraordinary feat is not the only goal he seeks to achieve.

The IGARE challenge was born with the aim of raising awareness about Epidermolysis Bullosa, also known as Butterfly Skin, a rare and serious genetic condition that currently has no cure. It causes extreme fragility in the skin and mucous membranes, making everyday actions such as walking or hugging painful. In its most severe forms, it can also affect internal organs and significantly reduce both quality and length of life.

Javier’s mission goes beyond raising awareness—he also aims to rally society to support the work of the DEBRA Piel de Mariposa, an organization that supports affected families and works tirelessly to advance scientific research toward effective treatments and, potentially, a cure. Fundraising is essential to continue providing this crucial support and to make progress in understanding this devastating disease.

At BKOOL, we want to show our full support for Javier on this incredible journey. We deeply admire his effort and dedication, and we encourage you to join this cause by DEBRA Piel de Mariposa . Every small gesture can make a big difference in the lives of those affected by this condition.

BKOOL is the most complete cycling simulator on the market, try it FREE for 7 days!

Sprinting is one of the most spectacular and demanding skills in cycling. That burst of speed and power in the final meters of a race — or during an intense workout — can be the difference between hitting a new personal best or ending with the feeling of “almost made it.” Whether you’re riding at home on your trainer or out on the road with your usual group, learning to improve your sprint is an effective way to take your performance to the next level.

In this article, we’ll show you how to develop better indoor and outdoor cycling sprinting capacity, with practical tips, specific training, and key recovery strategies you shouldn’t overlook.

What is sprinting in cycling and why is it important?

Improve your cycling sprint

Sprinting in cycling means pedaling at your absolute maximum for a very short duration, typically between 10 and 30 seconds. It’s an anaerobic effort, relying primarily on explosive strength, coordination, and technique. While often associated with professionals or competitions, any cyclist can benefit from sprint training: it boosts overall power, breaks the monotony of regular training, and provides an excellent stimulus for the nervous and cardiovascular systems.

Moreover, developing a good indoor or outdoor cycling sprint will not only make you faster, but also more efficient, more resilient, and stronger when tackling climbs, pace changes, or surges in group rides.

Differences between indoor and outdoor cycling sprints

While the goal remains the same, training conditions vary depending on whether you’re riding indoors or outdoors.

  • Indoor cycling sprints: When training on a smart trainer or stationary bike, you can control all variables: cadence, resistance, duration, and even the environment (temperature, music, distractions). This allows for highly specific training, focused on pedaling technique and power development. Many cyclists use platforms like Zwift or TrainerRoad to simulate sprint scenarios and track their progress.
  • Outdoor cycling sprints: Outside, terrain, wind, traffic, and road surface conditions directly affect your sprint. In this context, launch technique, aerodynamic positioning, and effective gear use become more important. Road sprints are great for replicating real situations, like finishing a climb or sprinting to the line in a group finish.

Both modes complement each other. Ideally, combine indoor sprint sessions to work on pure power with outdoor rides to apply that power in real-world scenarios.

How to improve your sprint: tips and training

Whether you’re cycling indoors or outdoors, improving your sprinting ability can be the difference between staying with the pack or crossing the line first. Below are some practical tips to help you develop that final burst of explosiveness:

  1. Build muscular strength
    The foundation of a good sprint is strong muscles, especially in the legs, glutes, and core. Dedicate one or two sessions per week to strength training: squats, lunges, deadlifts, and stability exercises will be your allies.
  2. Train with short, intense intervals
    Include sets of 10 to 20 seconds at maximum effort in your routine, followed by full recovery (1 to 2 minutes). For example:
    • 6 x 15-second sprints / 2 minutes easy
    • 4 x 10 seconds uphill / 3 minutes recovery
  3. Improve cadence and pedaling technique
    An effective sprint is not just about strength, but also technique. Practice maintaining a high cadence (100-120 rpm) during sprints without losing control or efficiency. Indoors, you can use trainer metrics to track your progress.
  4. Manage your recovery
    Sprinting is very demanding on the nervous system. Don’t train it every day. One or two sessions per week are enough if done correctly. Make sure to sleep well, stay hydrated, and eat properly to allow your body to absorb the training.
  5. Use cross-training for support
    Activities like hill running, swimming, or even plyometric exercises can help you gain explosiveness and vary the stimulus without overloading your cycling workouts.

Conclusion

Whether you prefer the trainer or the road, improving your sprint in cycling is possible with consistency and a solid strategy. Alternating between indoor and outdoor sprint sessions will help you progress faster, adapt to different scenarios, and stay motivated year-round.

You don’t need to be a pro to enjoy the powerful feeling of a great sprint. Add it to your workouts and you’ll see your performance, confidence, and enjoyment as a cyclist soar.

With well-designed sessions, clear goals, and by listening to your body, you can gain power and explosiveness without compromising recovery. The best part is, you won’t just see the improvement in your numbers—you’ll also feel stronger, more agile, and more motivated to push yourself every time you ride.

BKOOL is the most complete cycling simulator on the market, try it FREE for 7 days!