 Go to BKOOL
Hated, or forgotten, by many, stretching is one of the key pieces to enjoy the sport to the fullest. For example, it is essential to help us recover between two sessions or to avoid injuries when returning to training after a vacation period.
When you ride a bike you maintain the same posture for a long time and the joint movement is the same all the time. This makes stretching practically a must in order to have as much mobility as possible, something that will make a difference in your performance.
So let’s get down to the best stretches for cyclists.
Why is stretching necessary?
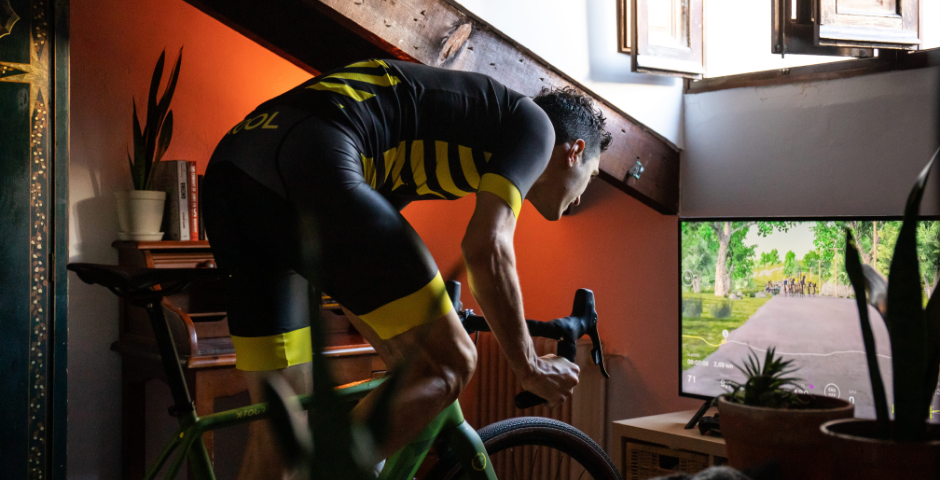
The posture you maintain while pedaling can lead to shorten hip flexors, tighten the back, chest and legs. This is why stretching is necessary, the cyclist will achieve a more efficient and comfortable posture on the bike and generate more power with each pedal stroke. This becomes even more important in training on the trainer, where the posture is more rigid and limited.
Soleus stretch
To stretch the soleus we can use a wall, a railing or even a chair. Standing at arm’s length, lean forward and place your hands on the surface. Take the leg you want to stretch extended backwards, with the heel resting on the floor.
Wearing a poorly adjusted saddle or cleats can cause problems in the soleus, let’s see how to stretch it.
Gluteus maximus stretch
The gluteus maximus is the largest muscle in the body and generates much of the force of pedaling when pushing down.
To stretch the gluteus maximus we start sitting on the floor with both legs stretched out forming an ‘L’ with the body. We bend the leg we want to stretch and cross it over the outer side of the quadriceps of the leg we have left stretched. With the help of the elbow of the arm opposite to the bent leg, we will make resistance on the bent knee in order to slightly turn the head towards the side of the stretched leg. The arm of the bent leg will remain resting on the floor.
Hamstring Stretch
When we refer to the hamstrings we are referring to the semitendinosus, semimembranosus and biceps femoris. They are involved in knee flexion and hip extension.
We start sitting on the floor forming an ‘L’ with the legs stretched out in front, as in the previous stretch. We bend the leg we do not want to stretch so that the sole of the foot faces the inside of the thigh of the stretched leg. Bend at the waist so that you feel the stretch.
Quadriceps stretch
The vastus medialis, rectus femoris and vastus lateralis are three of the four muscles that make up the quadriceps. They are another of the great force generators in pedaling. They also help stabilize the knee.
We start standing with our legs straight, flex the leg we want to stretch and grab the instep with our hand so that we feel the stretch. If you have little balance you can support yourself to facilitate the stretch. This is one of the most important stretches for cyclists.
Tibialis anterior stretch
This muscle intervenes in the rise of the pedal stroke. It is the antagonist of the ‘gemellus’ and serves to balance ankle and knee.
We start sitting on our own tibiae with the instep of the foot facing the ground, then we lean our torso backwards so that we feel the stretch, rest your hands on the floor to control the movement.
BKOOL is the most complete cycling simulator on the market, try it FREE for 7 days!